Education Skill Development Documentation
The Documentation For Your Awesome Theme Or Template
Introduction
- Theme Name : Education Skill Development
- Author : mishkatwp
- Support Forum : https://www.mishkatwp.com/support/mishkat-wp/
- License : GNU General Public License v3 or later
- Discription :The Skill Development WordPress Theme represents a groundbreaking approach to online learning and skill enhancement, transcending conventional templates to offer a comprehensive, visually stunning, and highly dynamic digital environment. This premium theme is meticulously designed to cater to a diverse audience, serving both individuals seeking professional development and organizations committed to providing cutting-edge training solutions. At its core, the Skill Development WordPress Theme functions as a virtual classroom, adeptly serving the needs of educators, trainers, corporations, and lifelong learners. What sets it apart is its premium status, signifying not only a commitment to quality but also unlocking access to a suite of advanced features, superior design elements, performance optimization, and dedicated customer support. This commitment results in a polished and professional online presence that stands head and shoulders above standard themes. The responsive design is foundational, ensuring an optimal viewing experience across a spectrum of devices, including desktops, tablets, and smartphones. The theme’s interactive learning modules, which encompass quizzes, multimedia content, and discussion forums, create a collaborative and engaging learning environment. The advanced customization options grant educators the flexibility to tailor the digital learning space to align with specific branding and instructional needs, all without the need for intricate coding.
Setting Up the Theme
Configure Theme
You can also install your theme through the WP Admin interface
The first step is to log in to your WordPress admin area. Then, proceed by clicking on...
1. In dashboard click on Appearance >> Themes
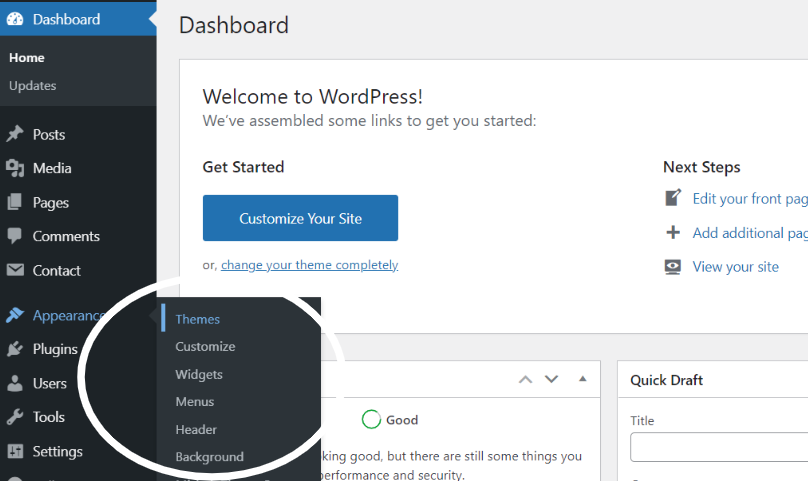
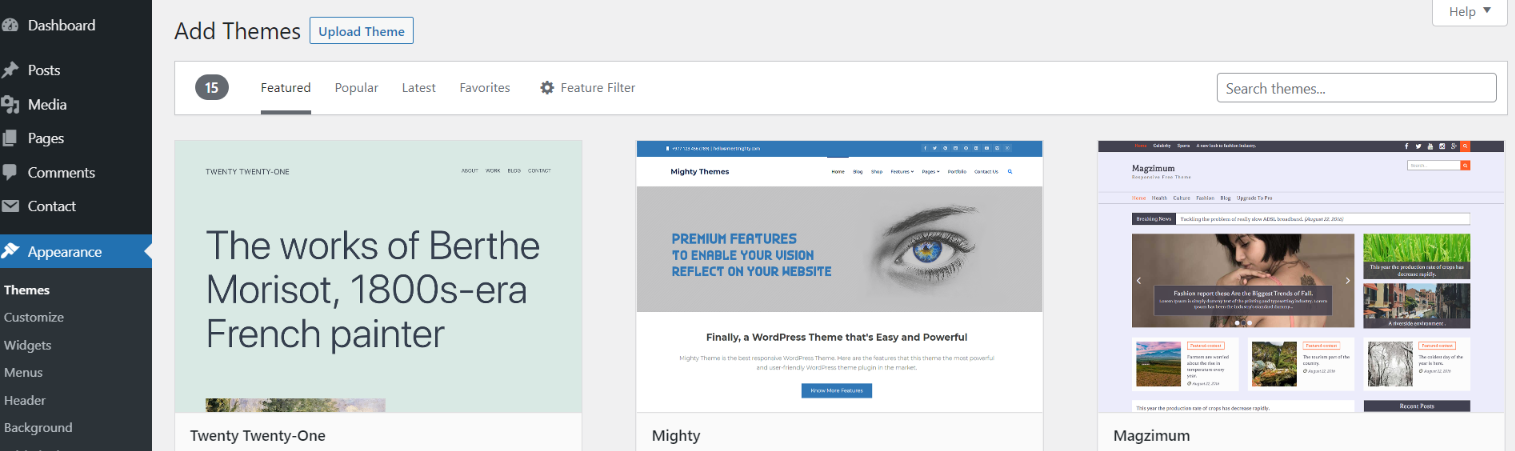
2. After the page is loaded, click on the "Add New" button located at the top of the themes page.
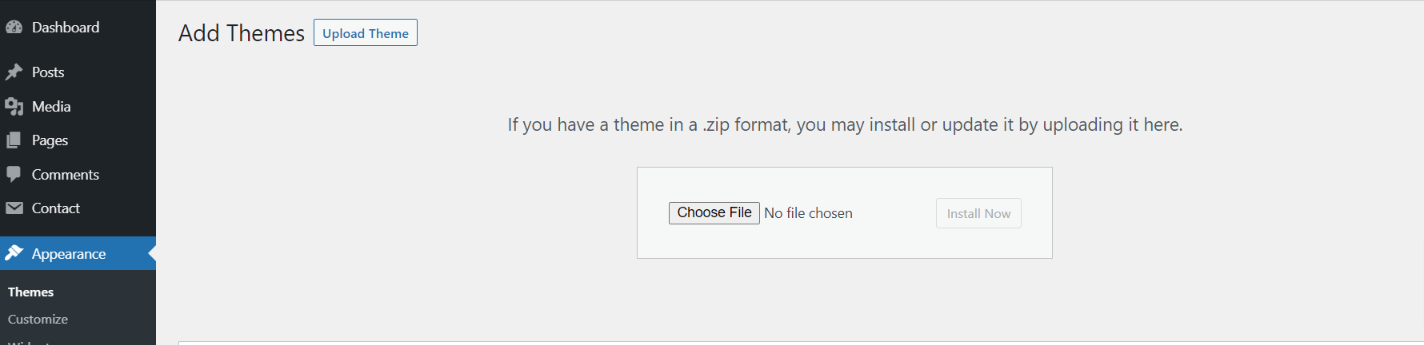
3. Click on the button labeled as 'Upload Theme'.
Select the "education-skill-development-pro.zip" theme from the Browse button, and then click on the Install Now button.
5. WordPress will now install your theme and show a success message, along with a link to activate or preview it live. Congratulations on successfully installing your theme!
Demo Content Importer -
Follow below instructions to Configure education-skill-development-pro theme.
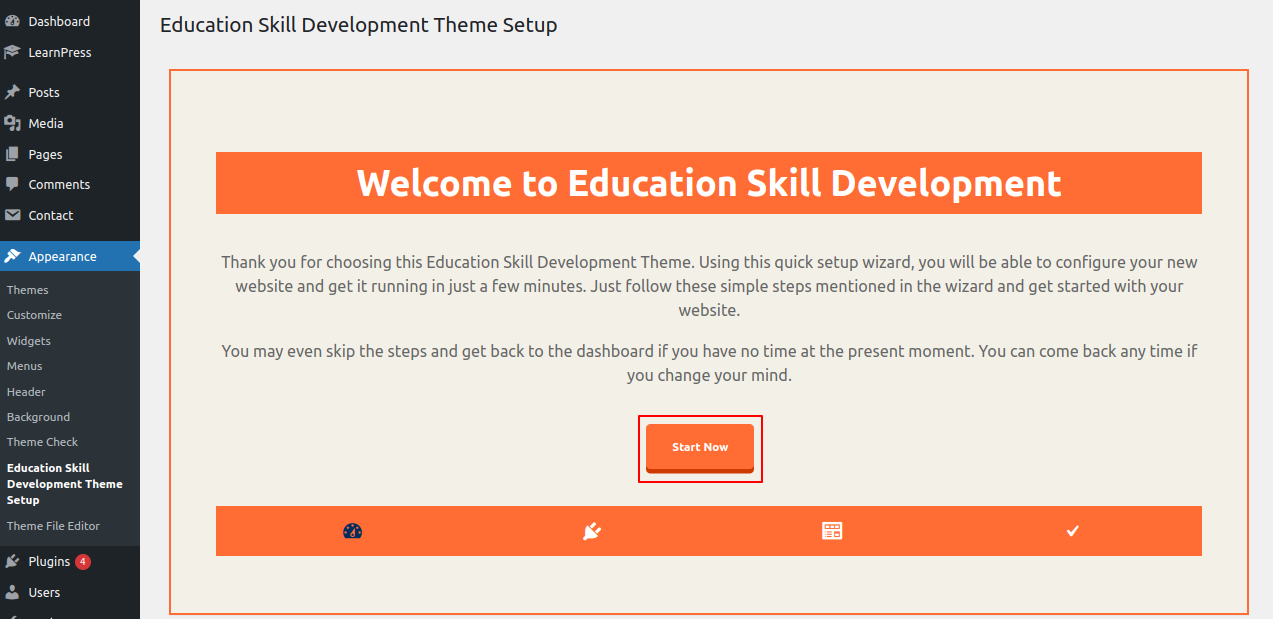
In the Dashboard, go to Appearance >> Education Skill Development Themes Configure
Once you are on the Education Skill Development themes Configure, click on the start button.
Once the demo importer process is complete, please check your site. All the content will be imported, and the theme will be displayed exactly like the live demo.
Essential Plugins
When you initially activate the theme, you'll be asked to install these plugins on your Dashboard. You can ignore the message if you don't want to install these plugins on theme activation, and if you change your mind later, you can install them manually.
In the Dashboard, click on Plugins >> Install Plugins.
Kirki
Plugin download link kirki
Contact Form 7
Plugin download link contact-form-7
Configure Menu
Configure Menu
In the dashboard, go to Appearance >> Menu
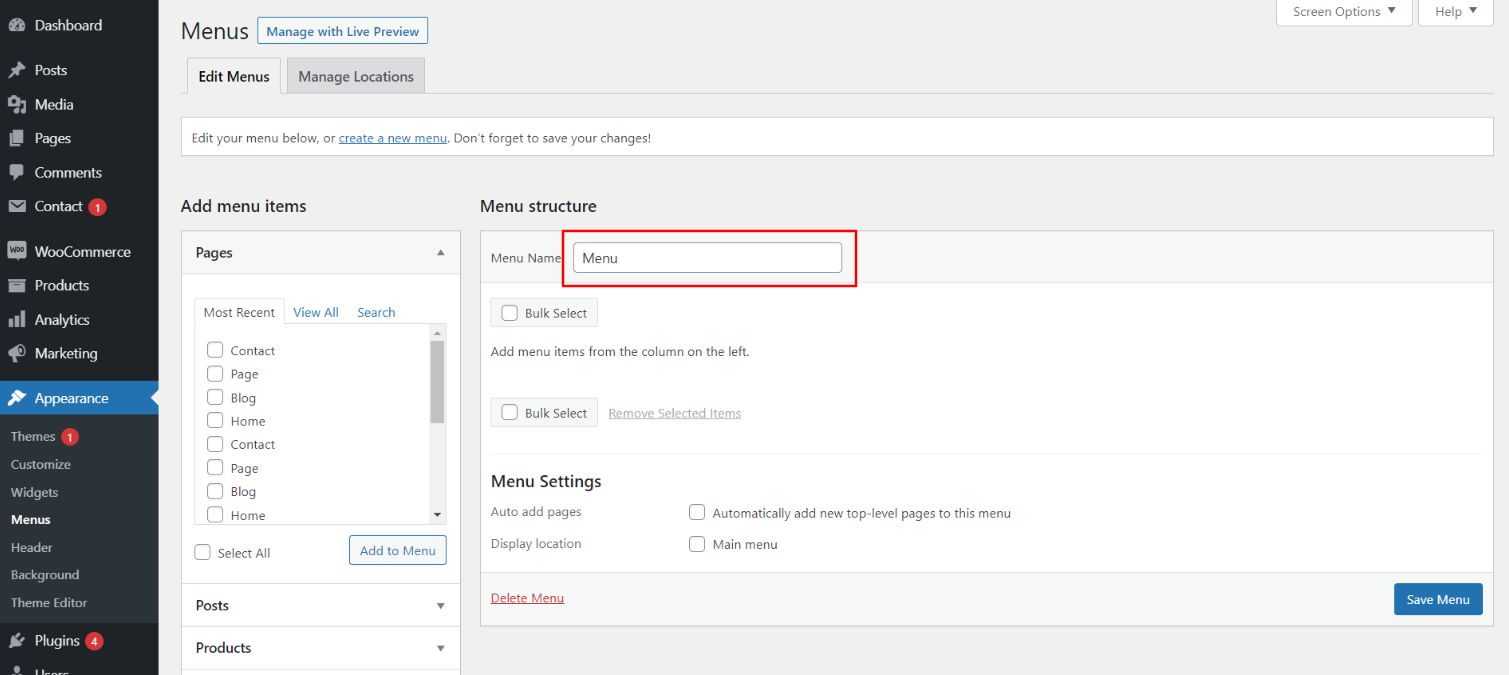
To access the Menu Editor, go to the Dashboard and click on the 'Appearance' menu on the left-hand side. From there, select the 'Menus' option.
To create a new menu, follow these steps:At the top of the page, select "Create a new menu".Enter a name for your new menu in the "Menu Name" box.Click on the "Create Menu" button.
Your new custom menu has been successfully created.
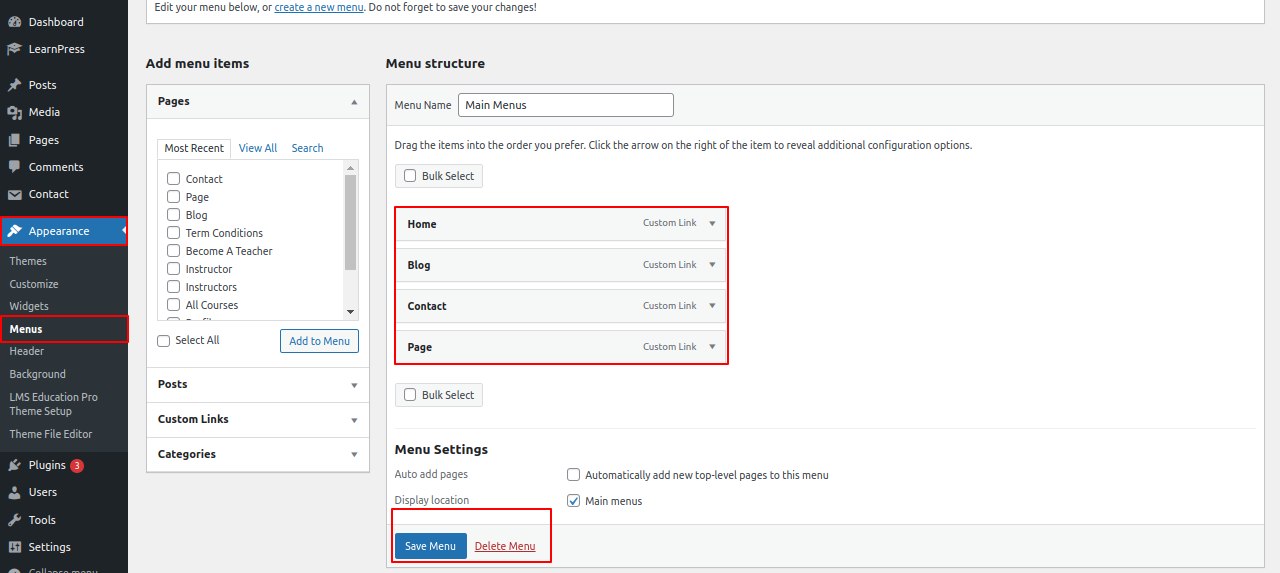
To add items to your menu
In the Menu Editor, locate the section labeled "Pages"
Click the checkbox next to each page's title that you want to add.
Once you have selected the desired pages, click the "Add to Menu" button.
Custom menu has been successfully saved
On the front end, the menu will appear as follows.

Education Skill Development Theme Configure
Header Settings
To proceed, you can set the Header Settings by following the instructions provided below.
In the Dashboard, go to Appearance >> Customize >> Theme Options >> Header Settings
For the theme header details, you have the option to customize the header settings. You can choose from the following options for your header configuration.
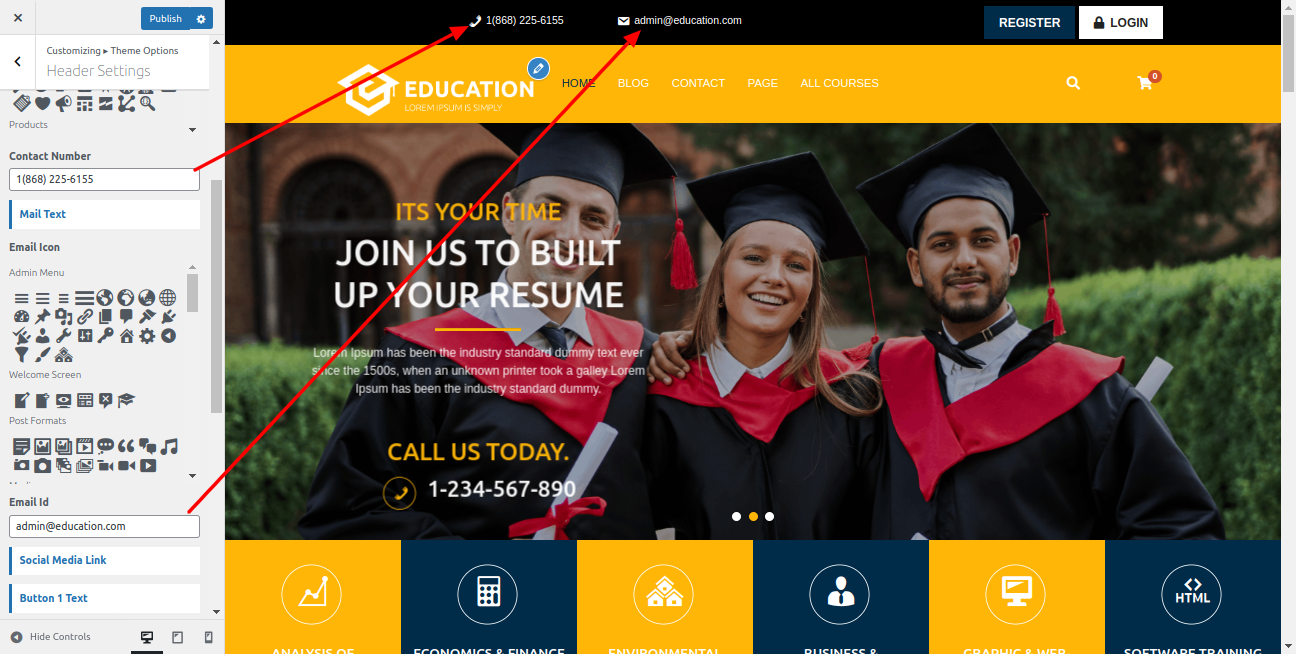
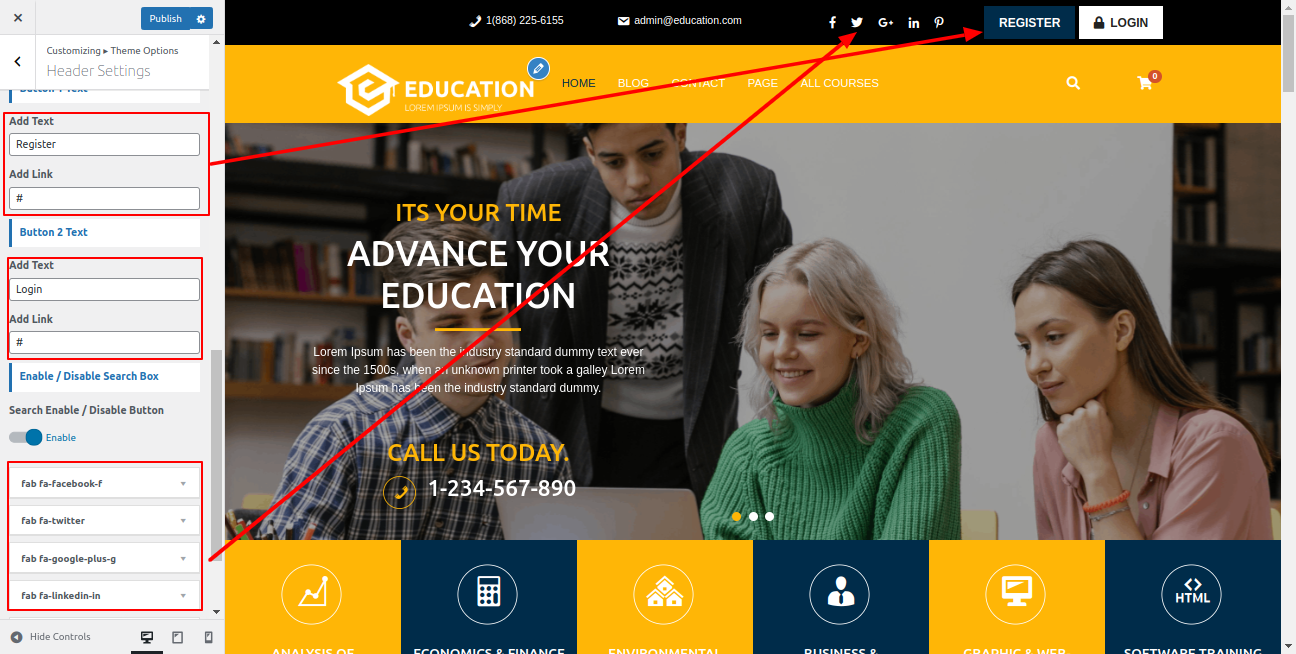
On the front end, the appearance will resemble the following

Set Logo
To proceed with the Theme Logo Configure, you can set the site title and tagline by following the instructions provided below.
In the Dashboard, go to Appearance >> Customize >> Site Identity >> Logo Or Set Title and Tagline You can also Enable / Disable Site Title and Tagline
On the front end, the appearance will resemble the following.
Slider Section
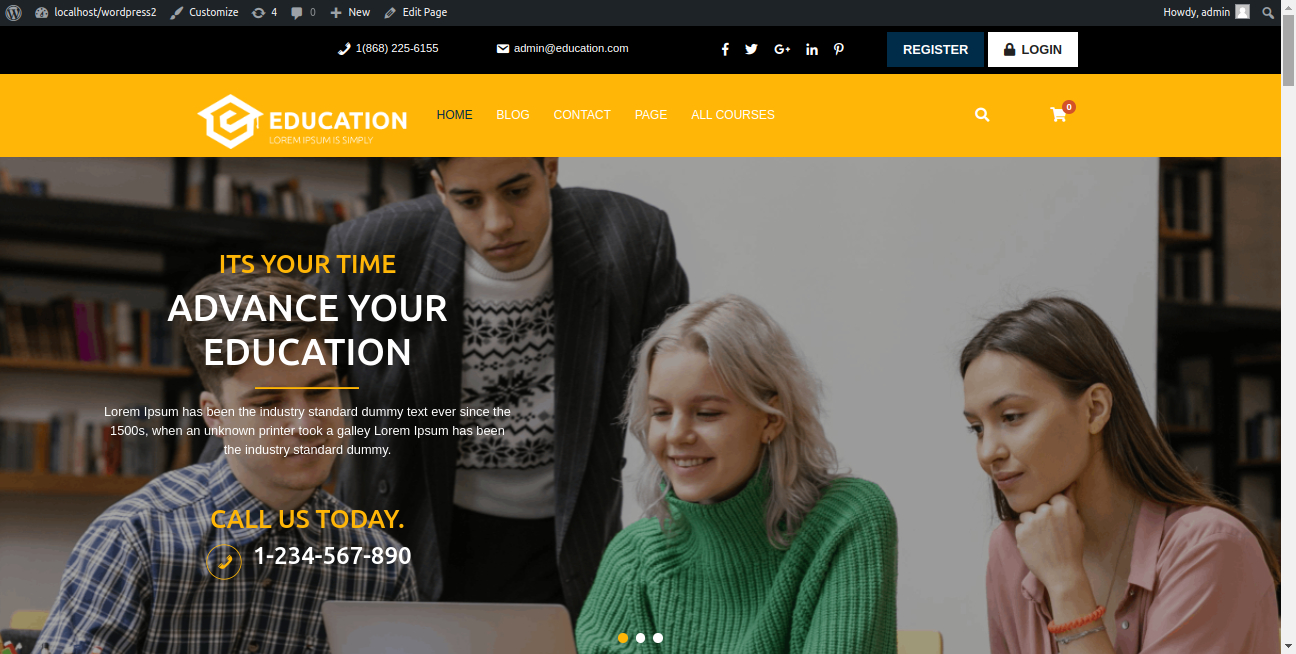
Slider Settings
To proceed with the Theme Slider Settings, you can configure the slideshow by following the instructions provided below.
In the Dashboard, go to Appearance >> Customize >> Theme Options >> Slider Settings
To configure the Theme Slider Settings, you have the following options for each slider:Set the heading and content for each slide.Set the button text for slider section.
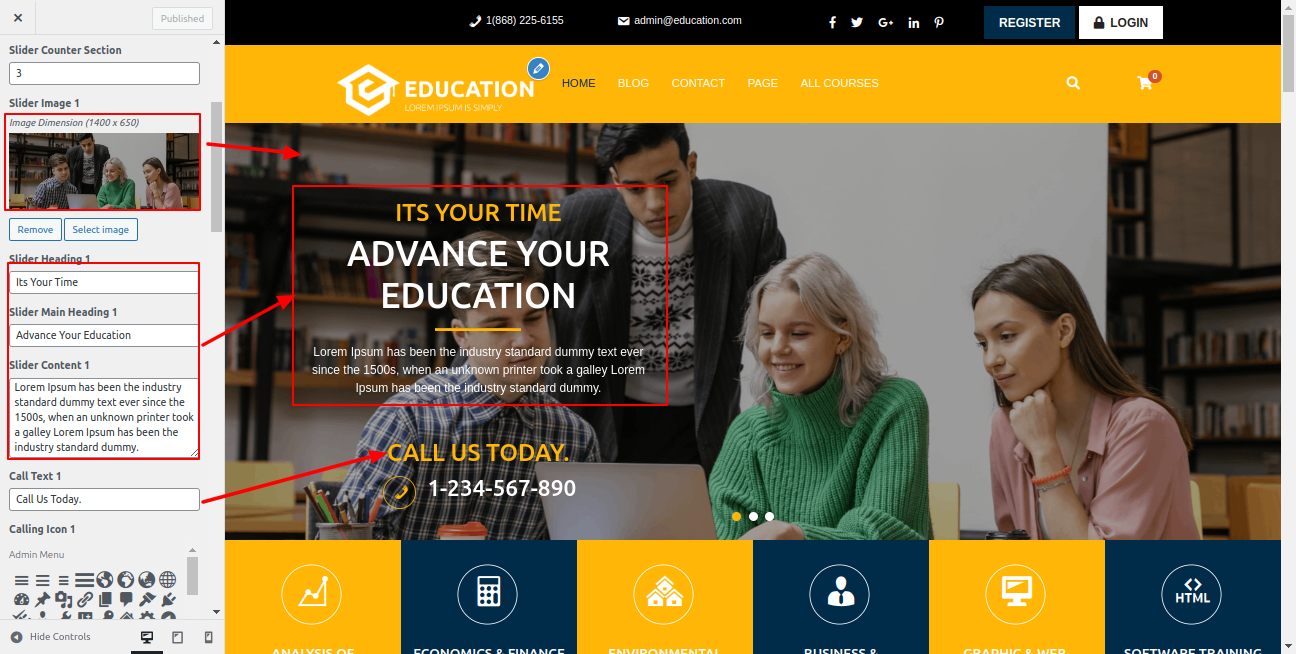
On the front end, the appearance will resemble the following.

Services Section
Services Settings
To proceed with the Services Settings following the instructions provided below.
In the Dashboard, go to Appearance >> Customize >> Theme Options >> Services Settings
You can choose from this options for Services settings.
You can set the main heading for this section You can images to display in the section.
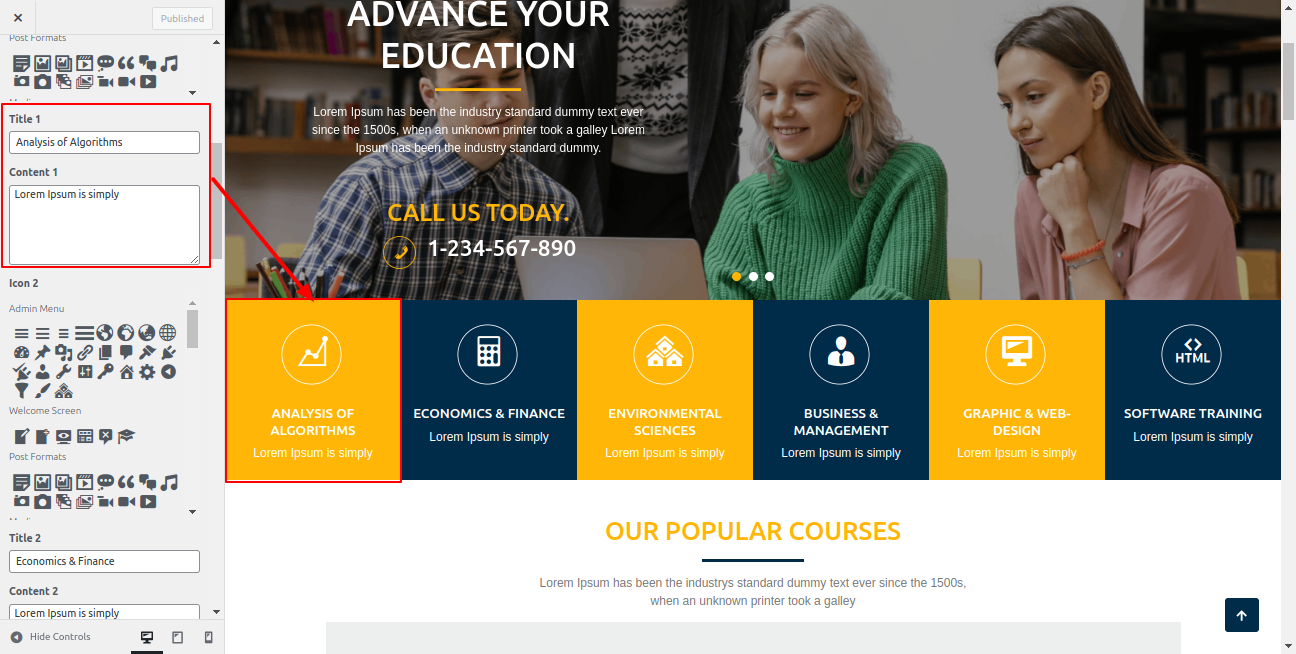
On the front end, the appearance will resemble the following.

Our Courses Settings
Our Courses Settings
To proceed with the Our Courses Settings following the instructions provided below.
The Learn Press plugin is installed in the usual way. Click Plugins > Add New search for Learn Press in the WordPress dashboard's search bar. Choose the plugin from the search result, then click the Install Now button.
From the admin panel, just go to Learn press > coursesand make new Courses. Name the category as given below.

In the Dashboard, go to Appearance >> Customize >> Theme Options >> Our Courses Settings
You can set the main heading for this section. Select the our services counter of Services posts to view. For each service, you can set the image, title, and url. You have the following options to configure for each service setting
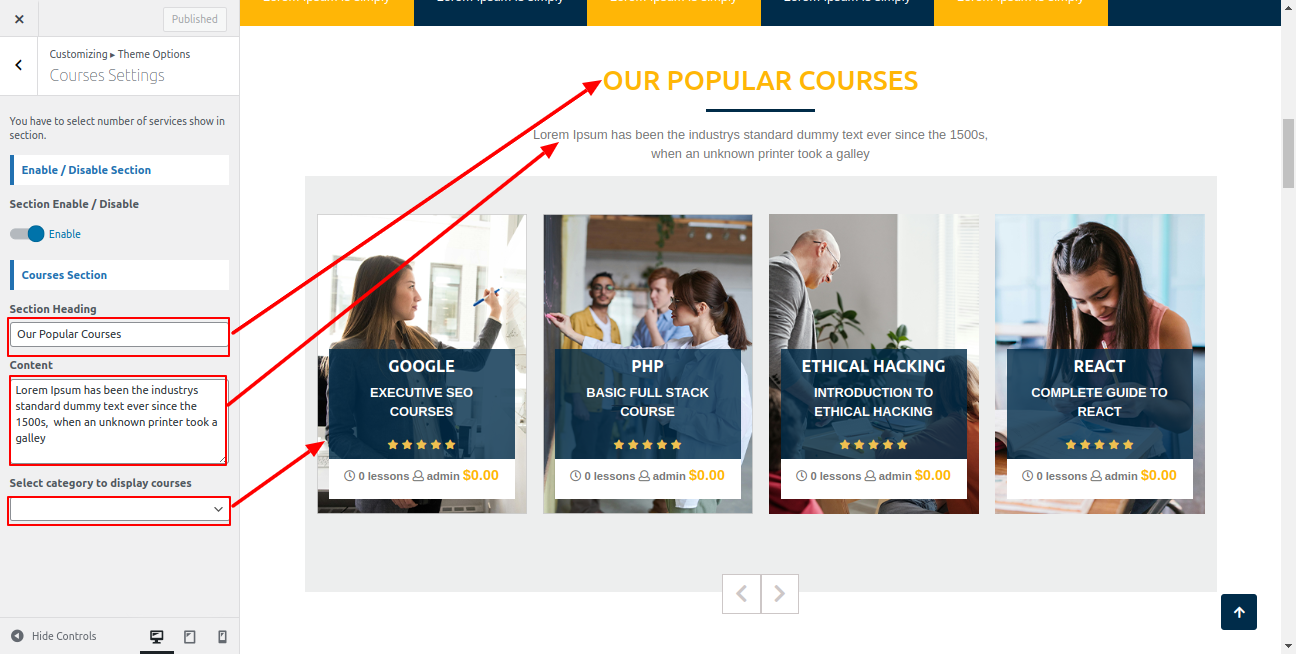
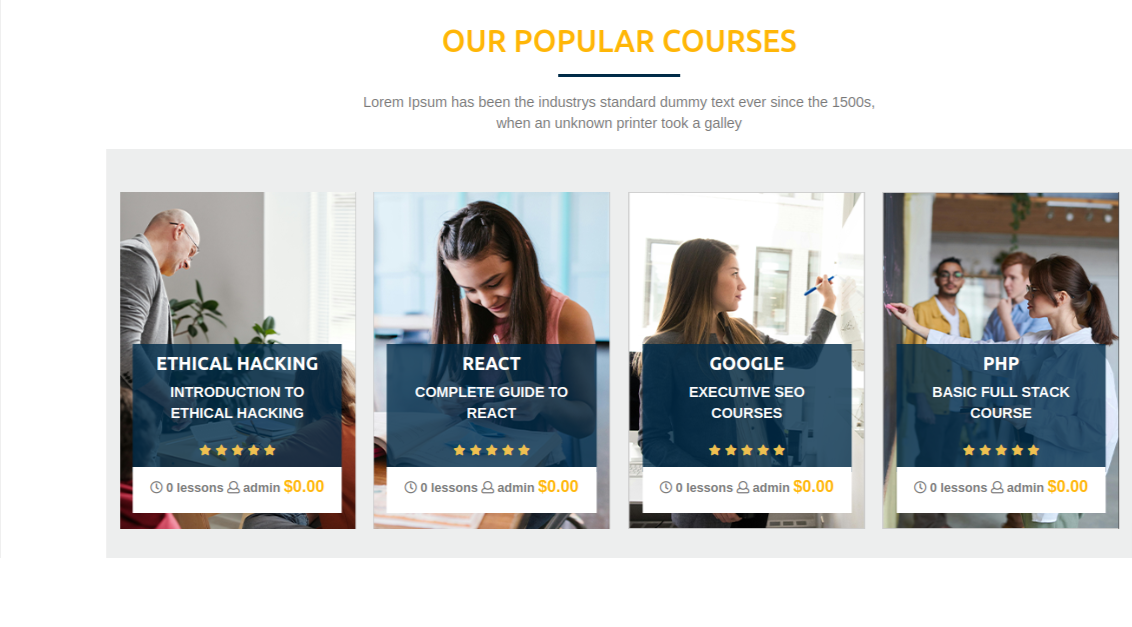
On the front end, the appearance will resemble the following.
Facilities Settings
Facilities Settings
To proceed with the Fishes Settings following the instructions provided below.
In the Dashboard, go to Appearance >> Customize >> Theme Options >> Facilities Settings
You can set the main heading for this section.
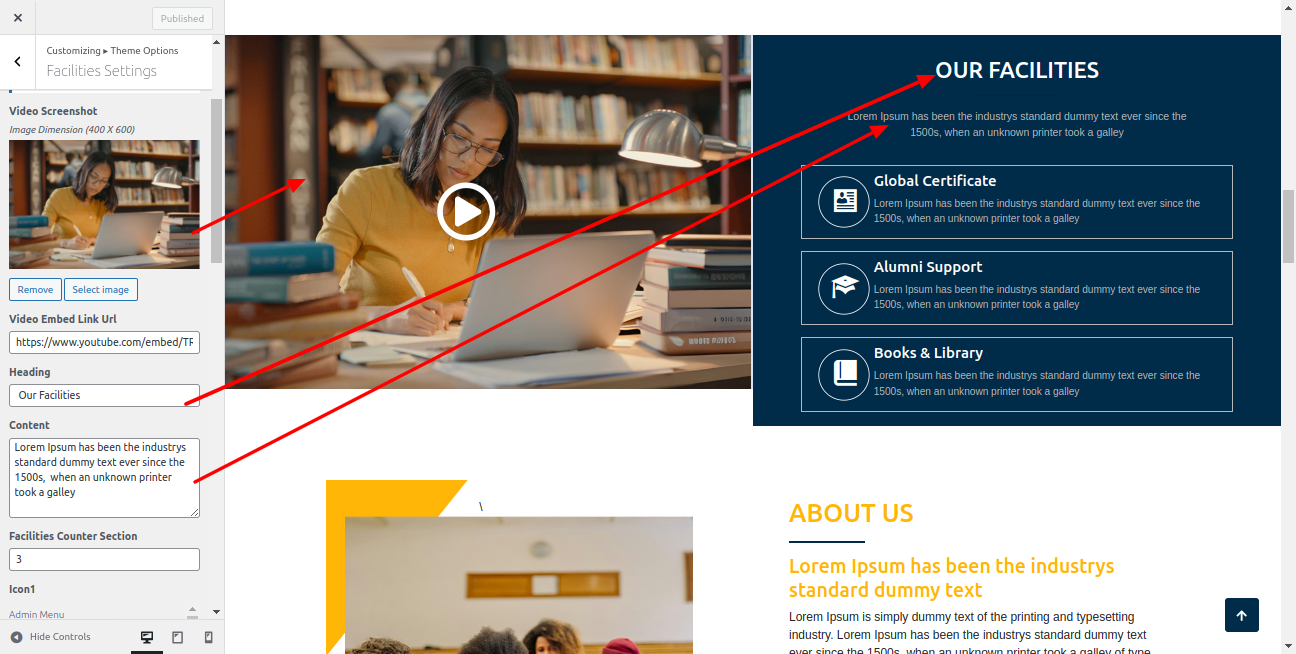
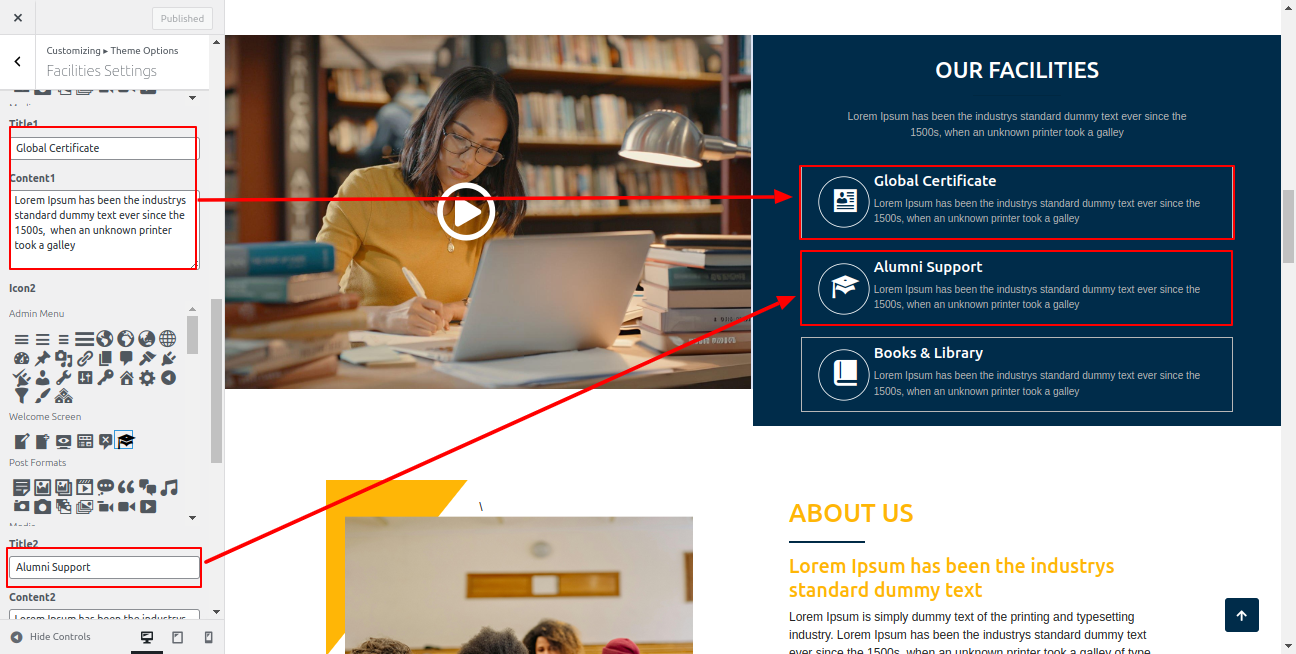
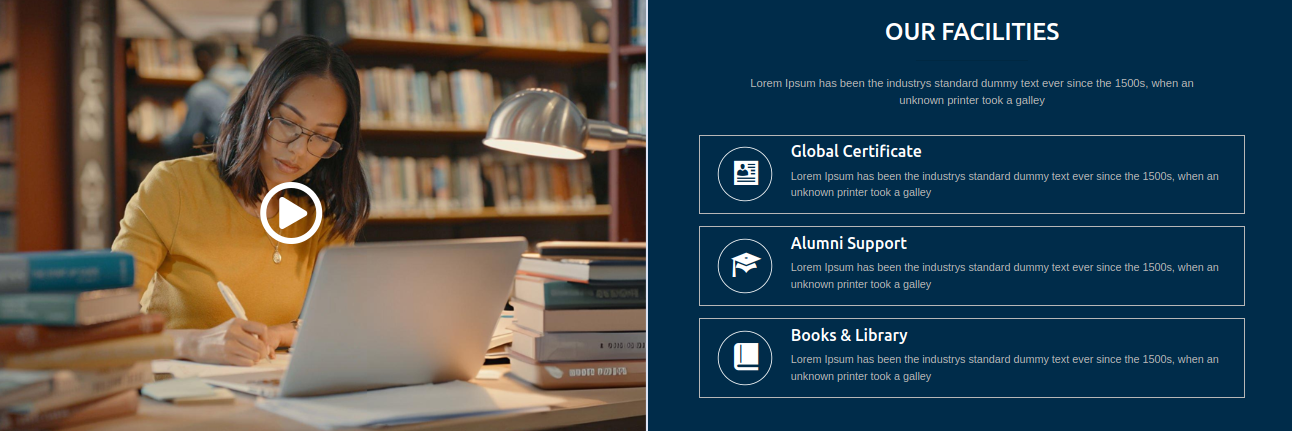
On the front end, the appearance will resemble the following.
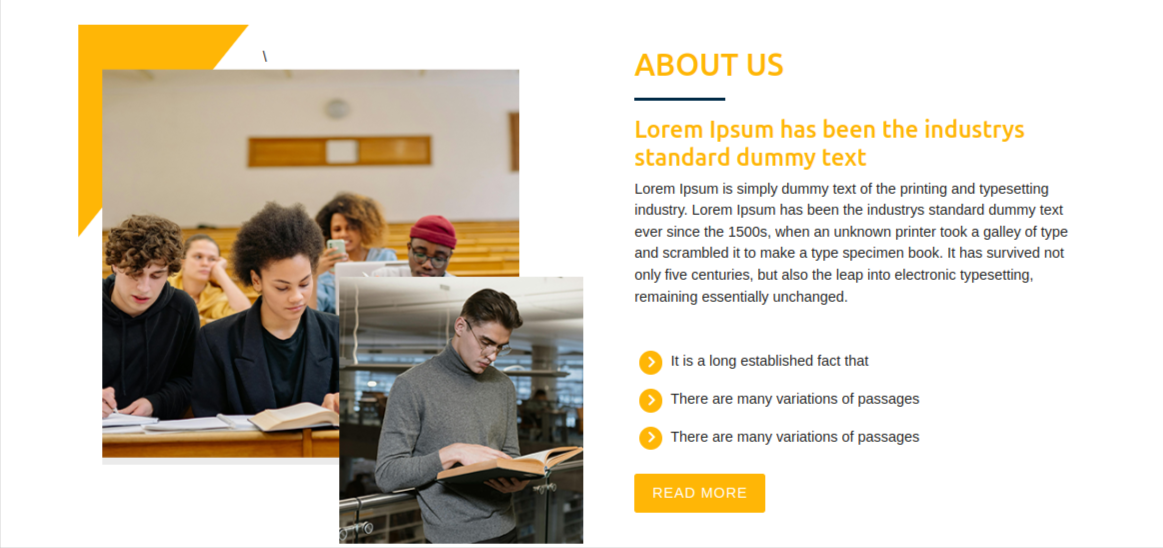
About Us Section
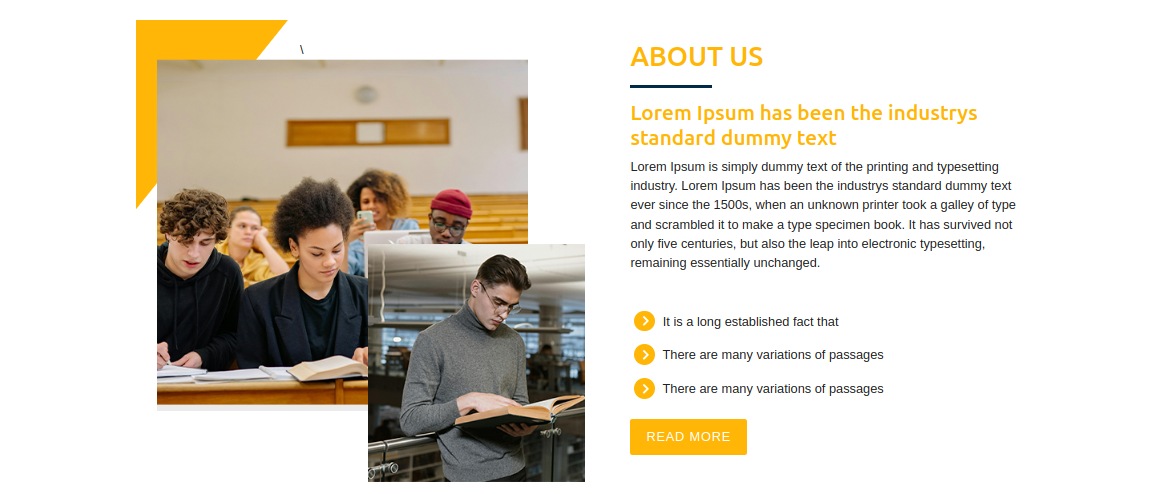
About Us Setttings
To proceed with the Counter Settings following the instructions provided below.
In the Dashboard, go to Appearance >> Customize >> Theme Options >> About Us Setttings
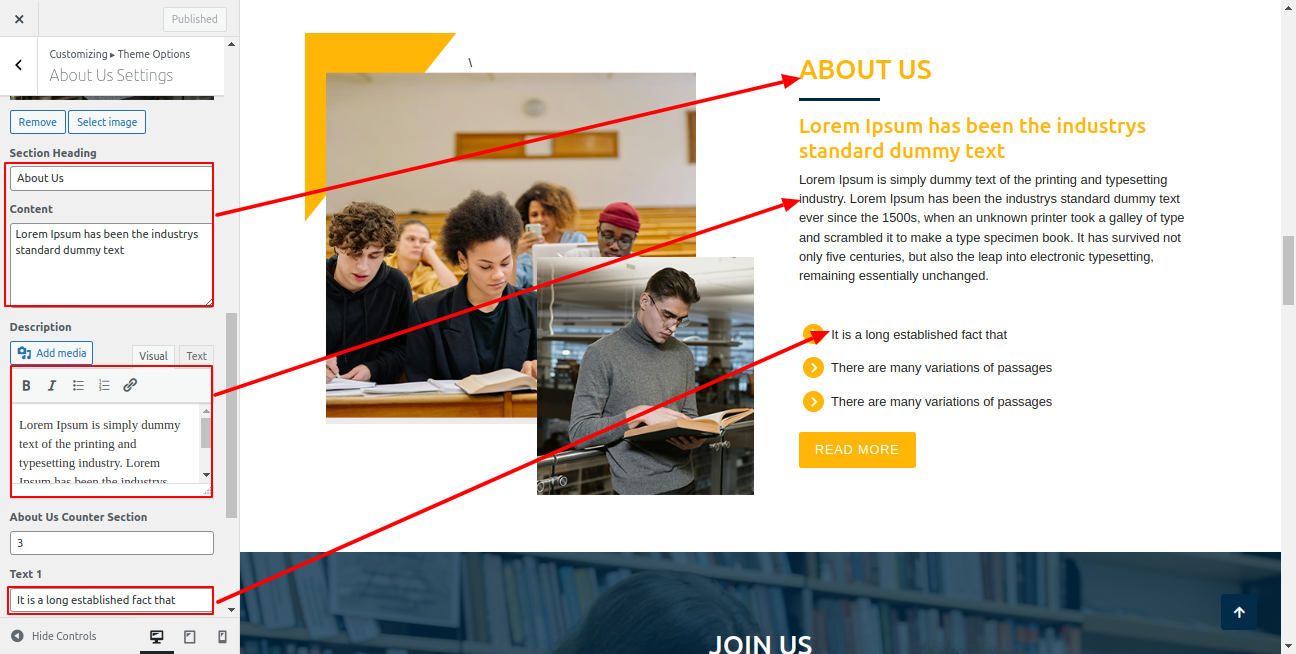
On the front end, the appearance will resemble the following.
Enquiry Section
Enquiry Settings
To proceed with the Enquiry Section following the instructions provided below.
Important Step:- Contact Form 7 plugin is necessary for creating a form.
In the Dashboard, go to Appearance >> Customize >> Theme Options >> Enquiry Section
You can set heading. & also put shortcode which is already created in contact form plugin
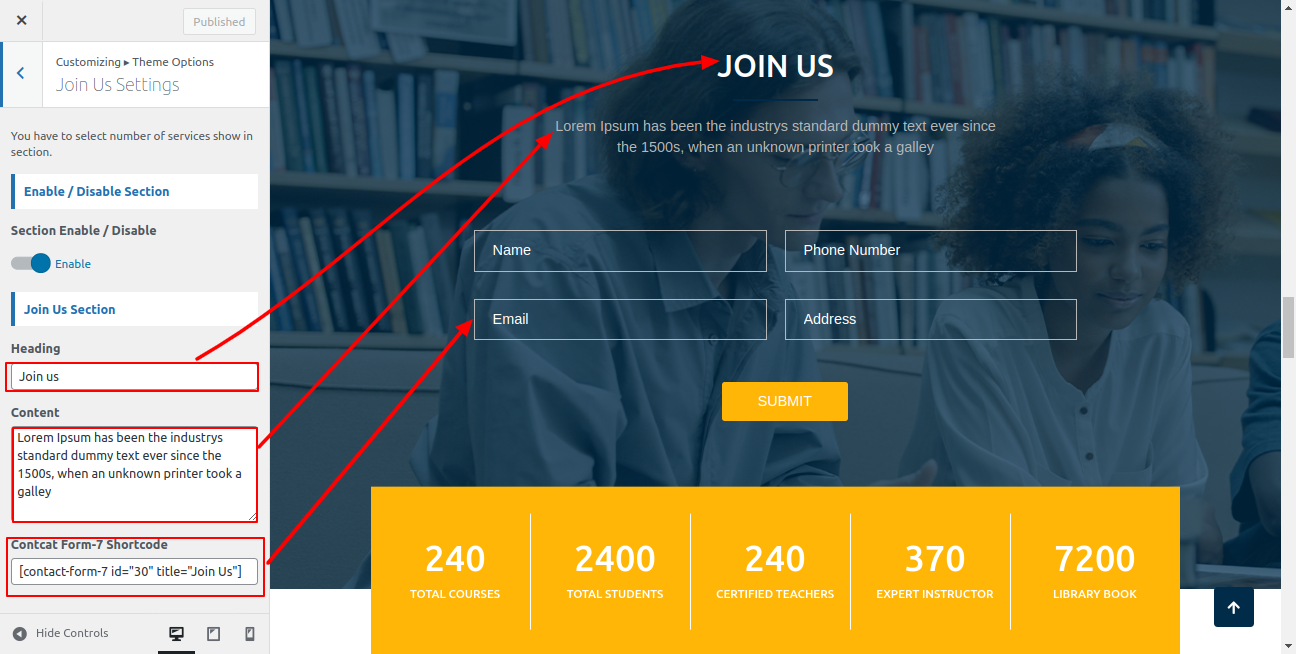
On the front end, the appearance will resemble the following.

Counter Section
Counter Settings
To proceed with the Counter Section following the instructions provided below.
In the Dashboard, go to Appearance >> Customize >> Theme Options >> Counter Section
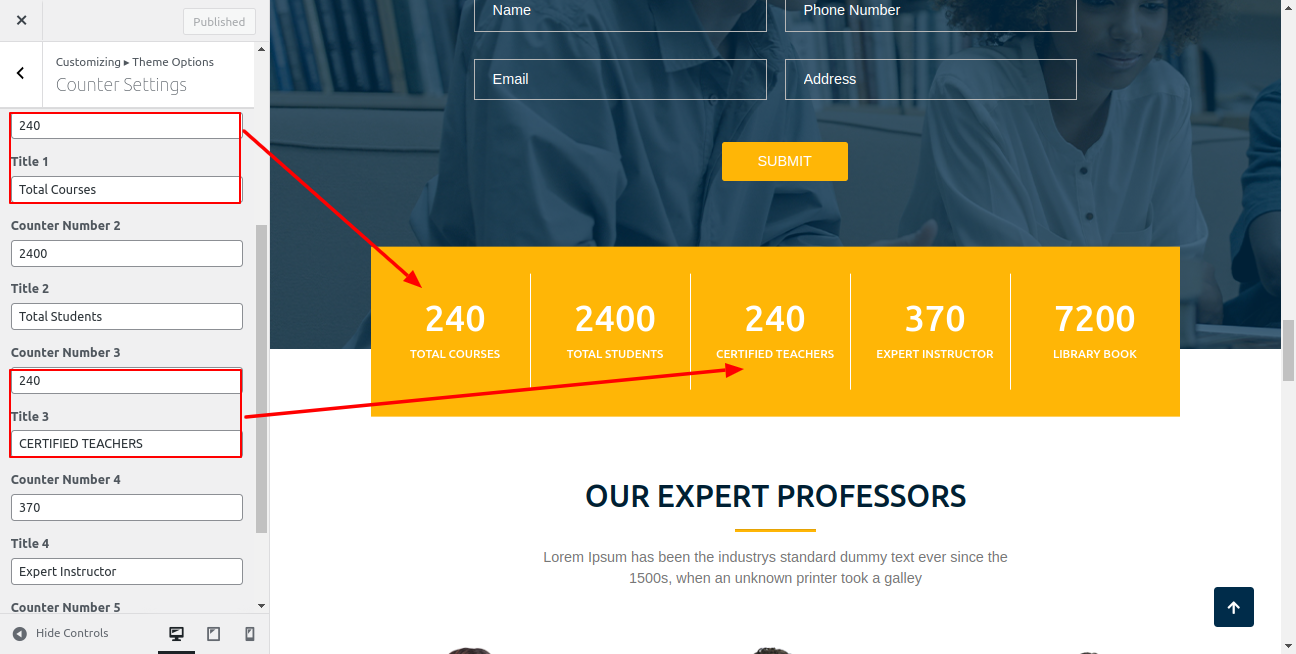
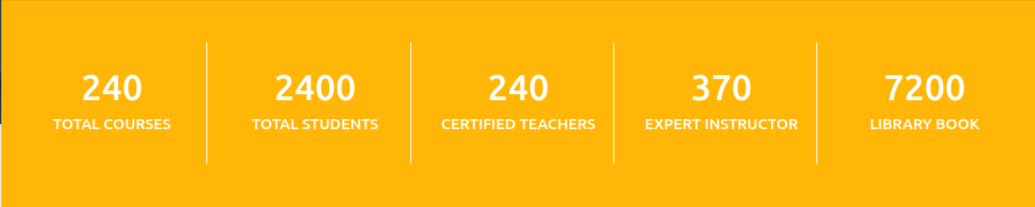
On the front end, the appearance will resemble the following.
Team Section
Team Settings
To proceed with the Team Settings following the instructions provided below.
In the Dashboard, go to Appearance >> Customize >> Theme Options >> Team Settings
You can set Select the heading for the team settings
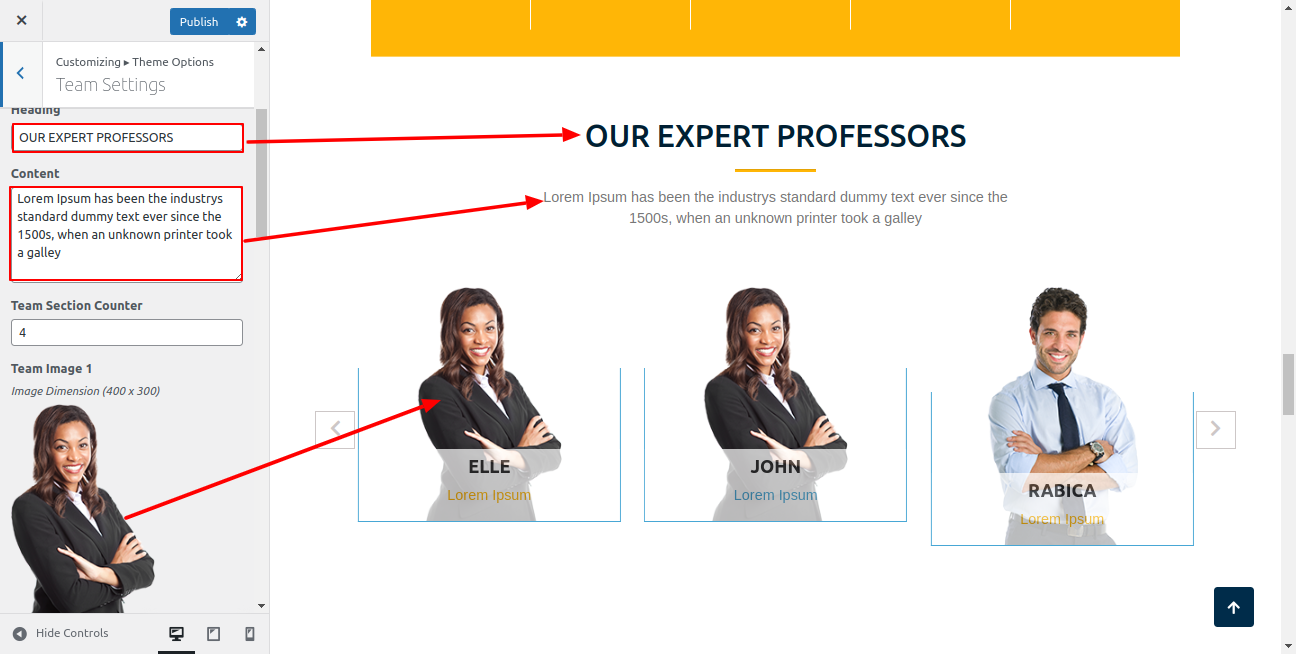
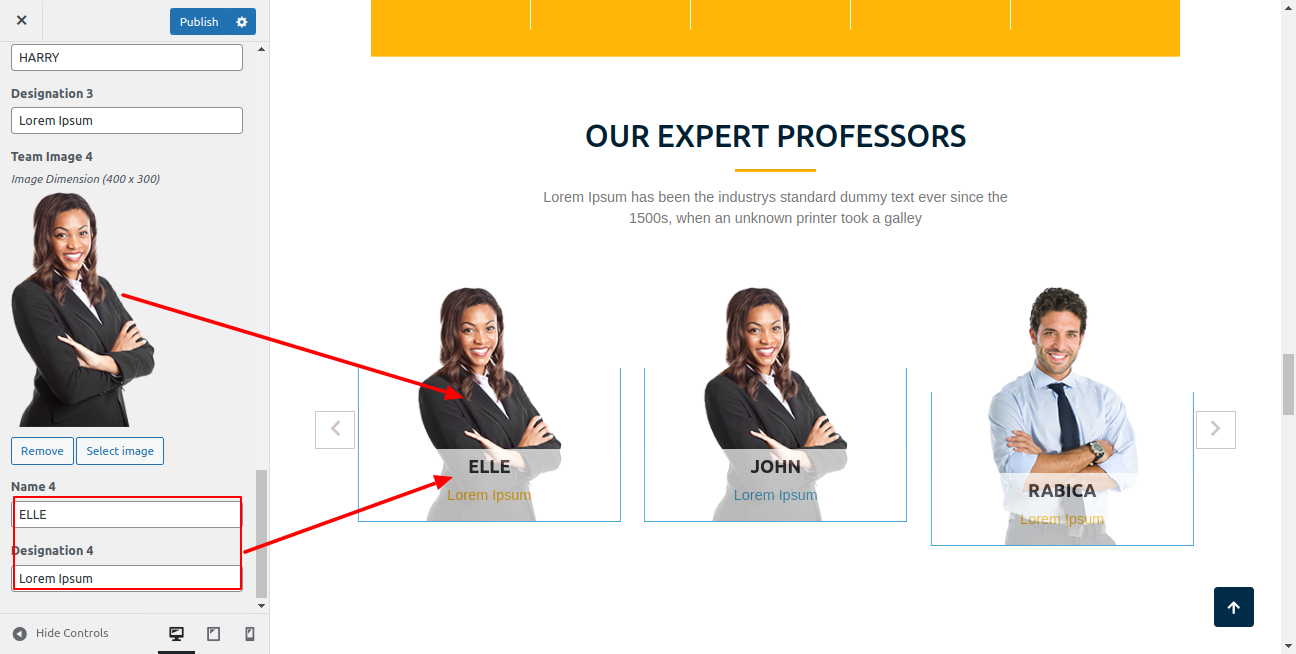
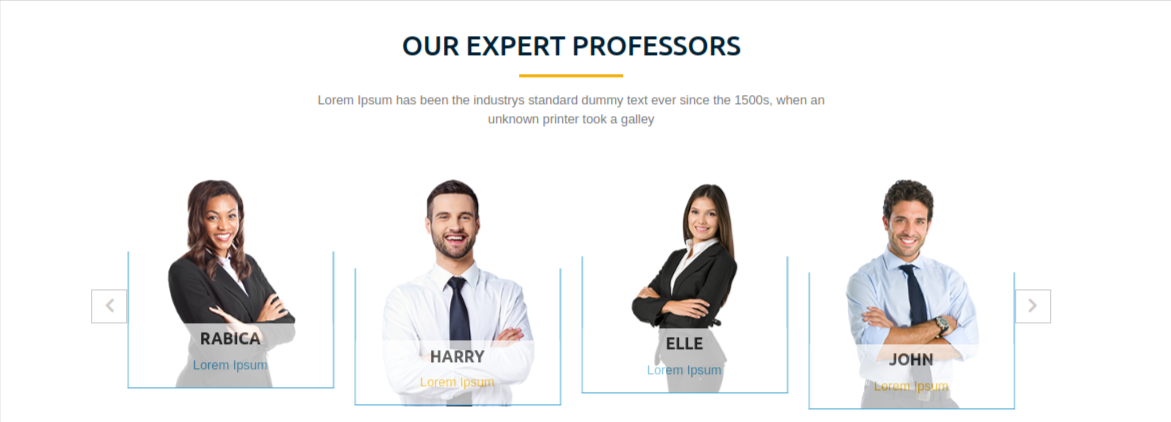
On the front end, the appearance will resemble the following.
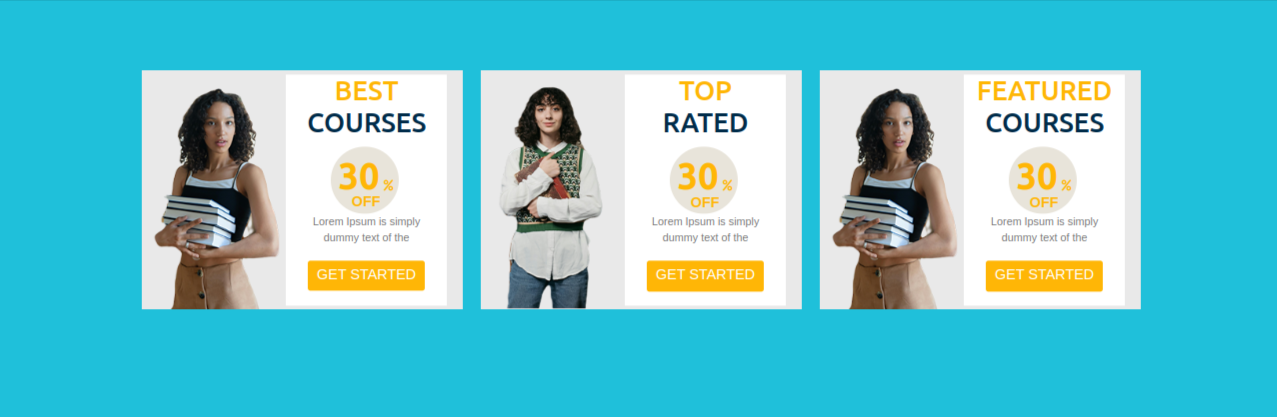
Offer Section
Offer Settings
To proceed with the Offer Settings following the instructions provided below.
In the Dashboard, go to Appearance >> Customize >> Theme Options >> Offer Settings
You can set the main heading for this section.
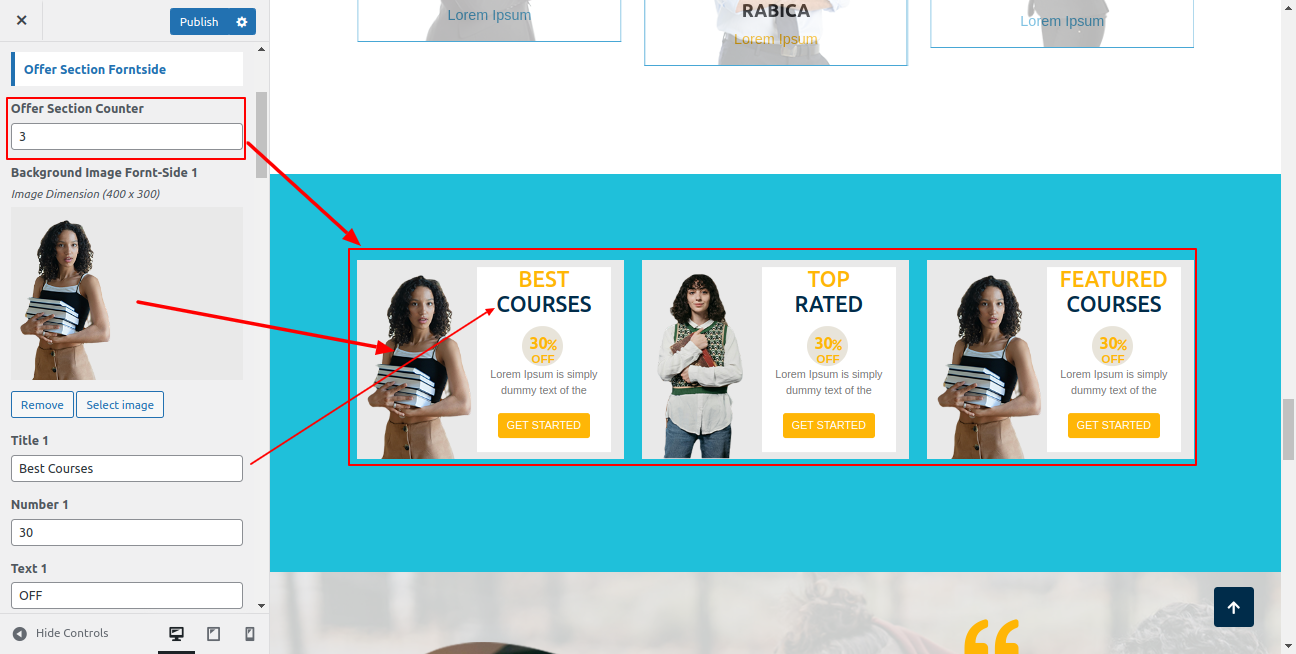
On the front end, the appearance will resemble the following.
Testimonial Section
Testimonial Settings
To proceed with the Testimonial Settings following the instructions provided below.
In the Dashboard, go to Appearance >> Customize >> Theme Options >> Testimonial Settings
You can set the main heading for this section. For each Sponsors, you can set the images. You have the following options to configure for each Testimonial setting
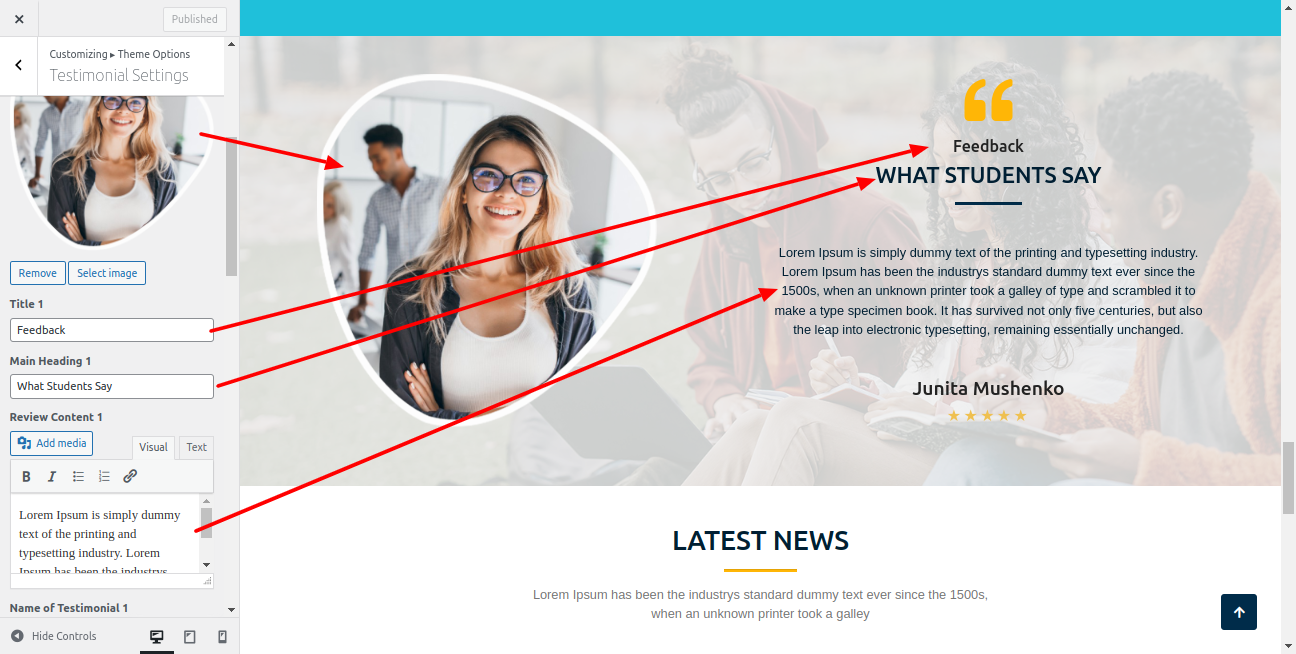
On the front end, the appearance will resemble the following.

Latest News Section
Latest News Settings
Fetch Categories
This screen is divided into two sections: "Add New Category" and "Category Table".
This table displays all of your categories. The categories are shown in a hierarchical and alphabetical order.
To set up the Category Settings, please follow the instructions provided below.
In the Dashboard, go to Posts >> Categories >> Add New
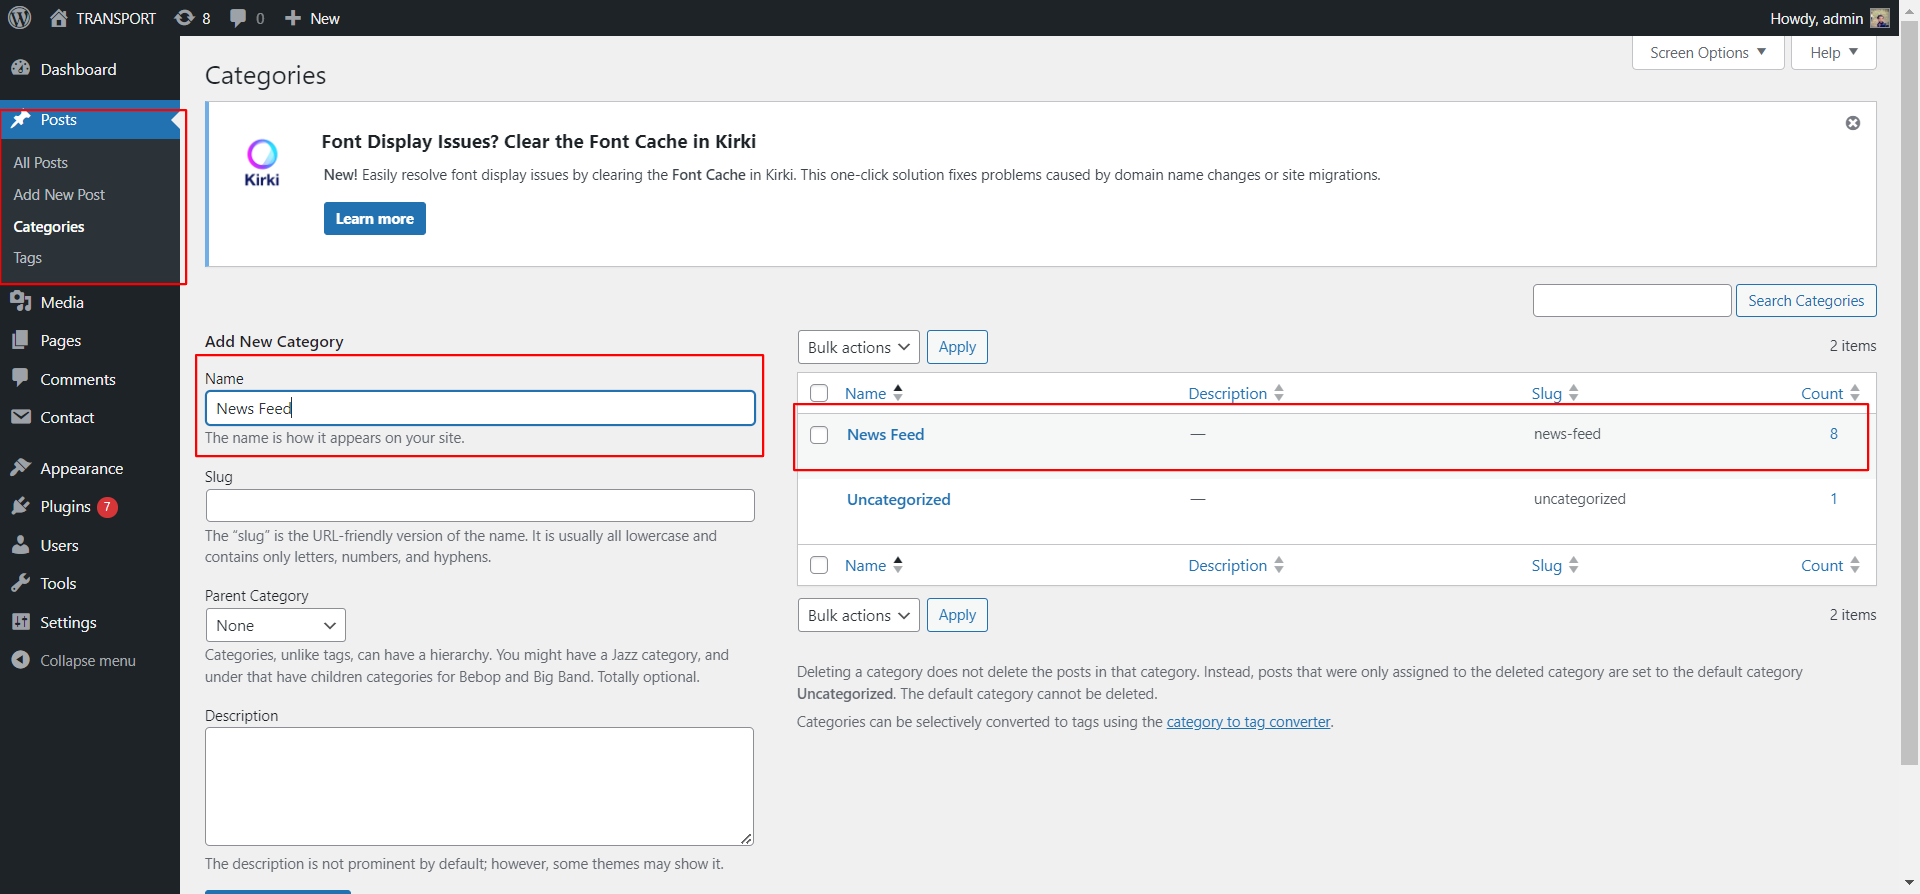
Once you have completed these steps, you will be able to see the categories in your theme customization options.
In this section, you need to add a new category for each post.
Fetch Post
In the Dashboard, go to Posts >> Add New
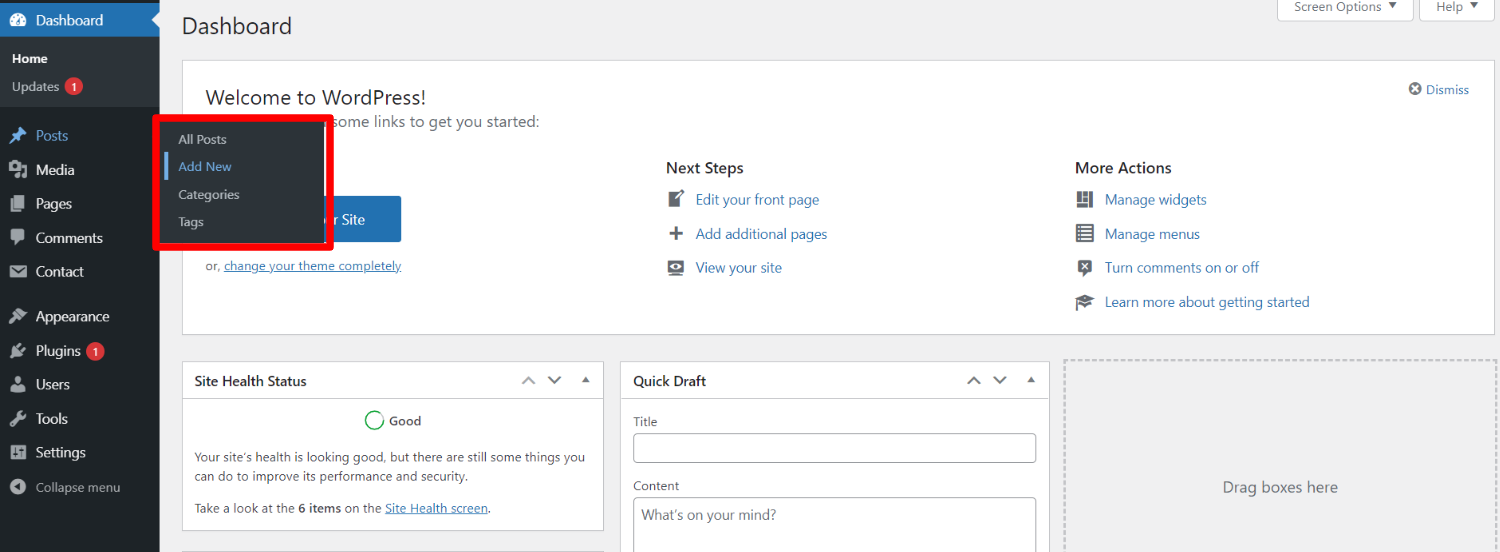
To proceed with creating a post, follow these steps:Choose a post title, enter the content, and set a featured image.Select the category in which you want your post to appear.
To set up the Post Settings, please follow the instructions provided below.
In the Dashboard, go to Posts >> Add New
You can create multiple posts for each category.

Once you have completed these steps, you will be able to see the posts on your front page.
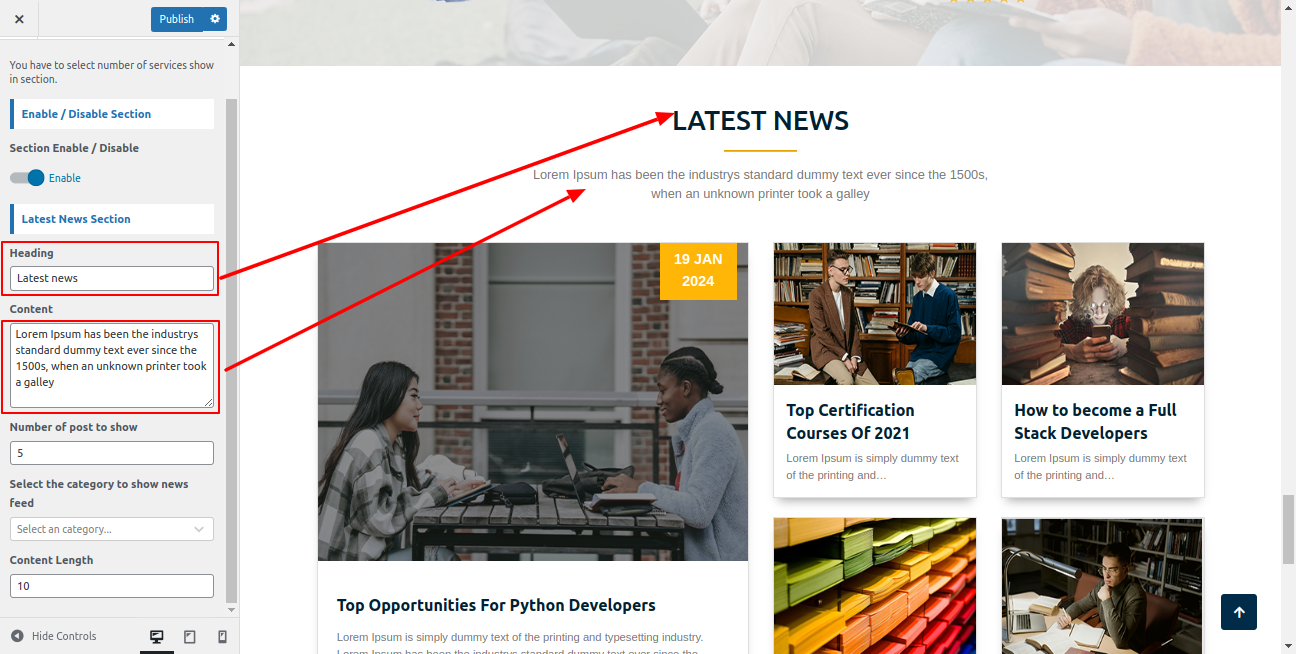
Latest News Settings
You can set the heading and content of the section. In the latest news settings, you have the following options to choose from.
To proceed with the Theme Recent Blog Settings , you can set tab post , following the instructions provided below.
In the Dashboard, go to Appearance >> Customize >> Theme Options >> Latest News Settings
You can select the number of posts to view. You also have the option to choose a specific category. In the Recent Blog Settings, you can choose from the following options for each setting.
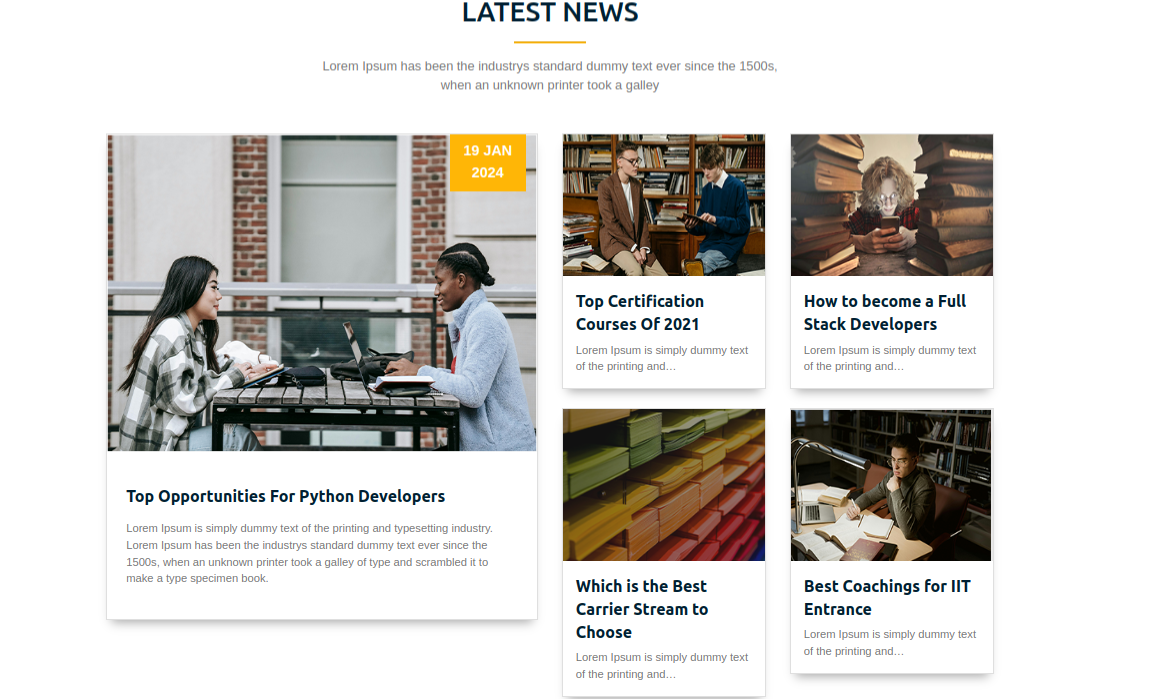
Once you have completed these settings, you will be able to see the posts on your front page.
Newsletter Settings
Newsletter Settings
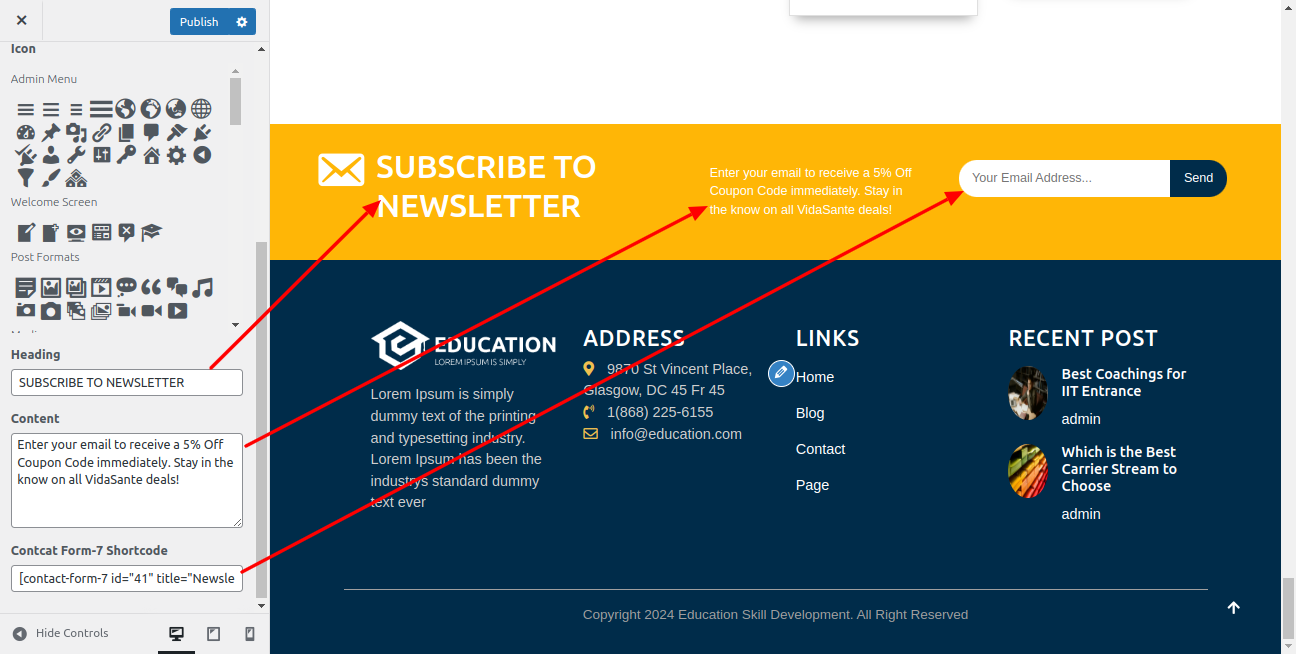
To proceed with the Newsletter Settings following the instructions provided below.
In the Dashboard, go to Appearance >> Customize >> Theme Options >> Our Newsletter Settings
You can set the main heading for this section. You have the following options to configure for each Newsletter setting
On the front end, the appearance will resemble the following.

Footer Configure Section
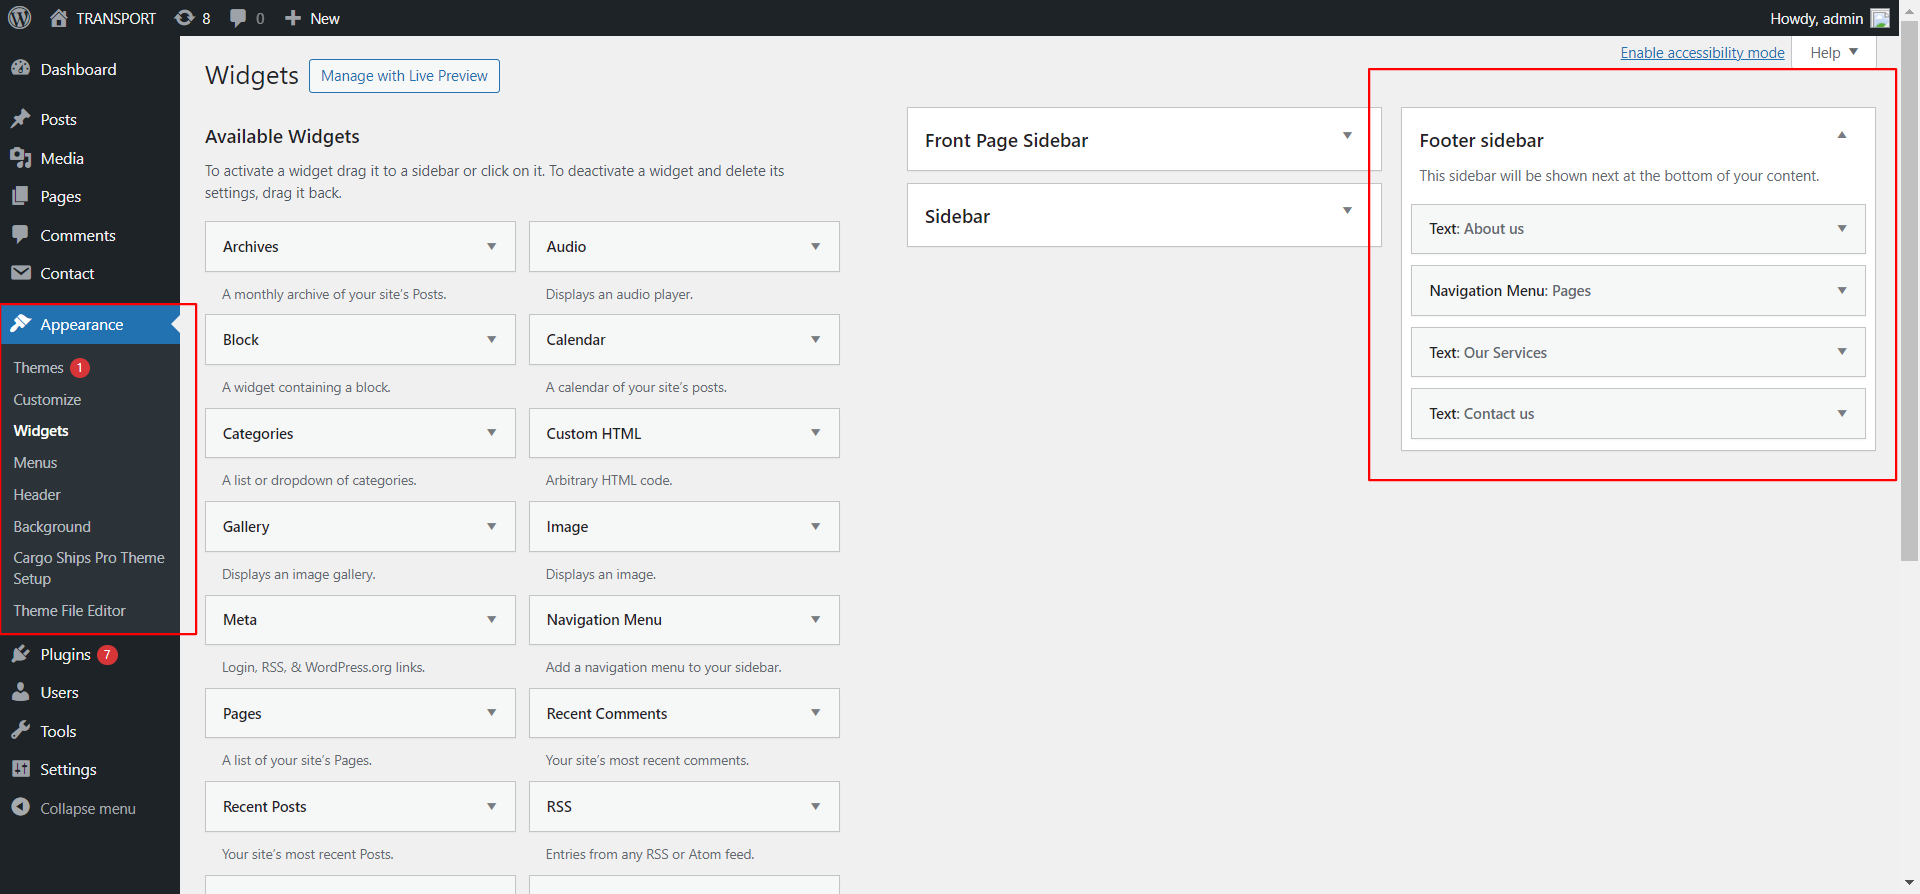
The footer is divided into four columns. There, any widget can be inserted.
1. In the Dashboard, go to Appearance >> Widgets
To add widgets to the footer, see the screenshot below.
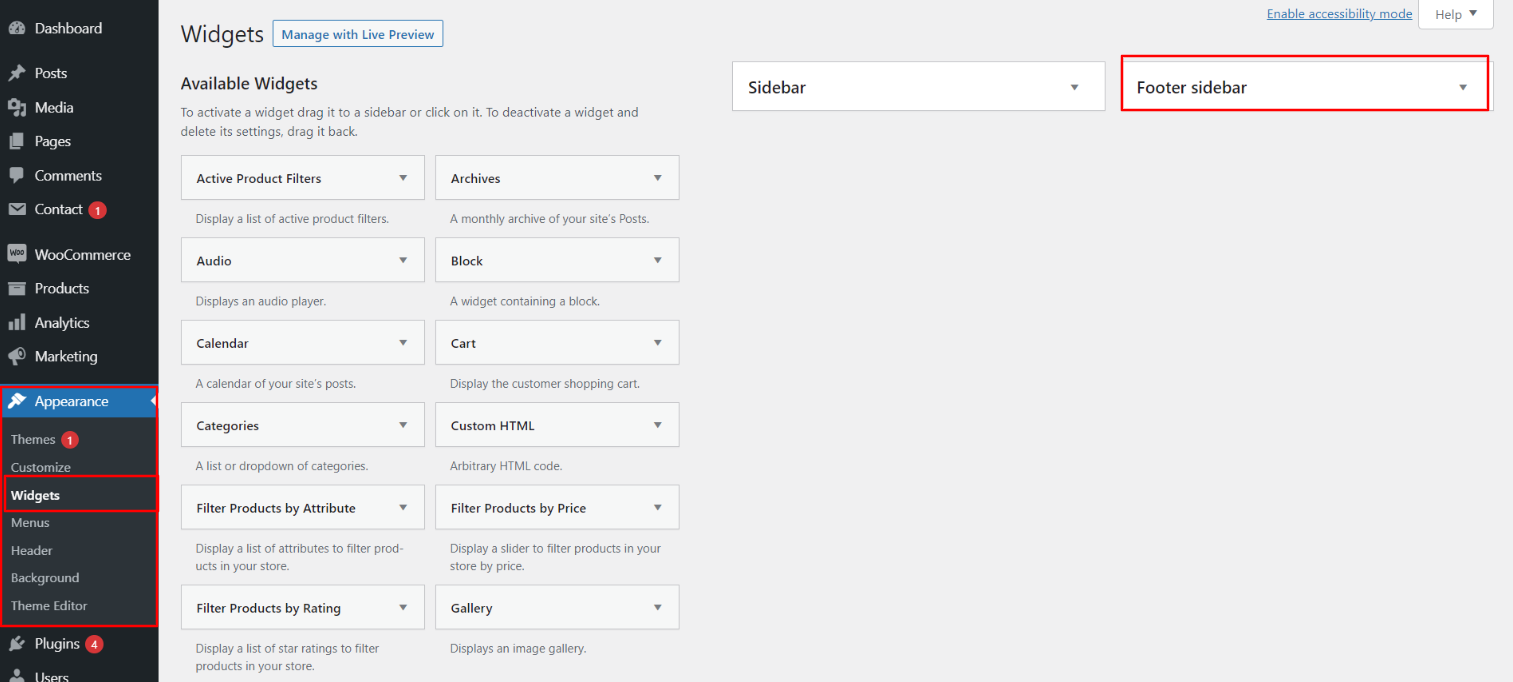
You may easily add your own text or images to footer columns by selecting widgets like text, photographs, recent articles, and other options.
Navigate here and follow the instructions below to manage the footer's content and add some widgets.
2. In the Dashboard, go to Apwp-footer-setuppearance >> Widgets >> Footer Sidebar
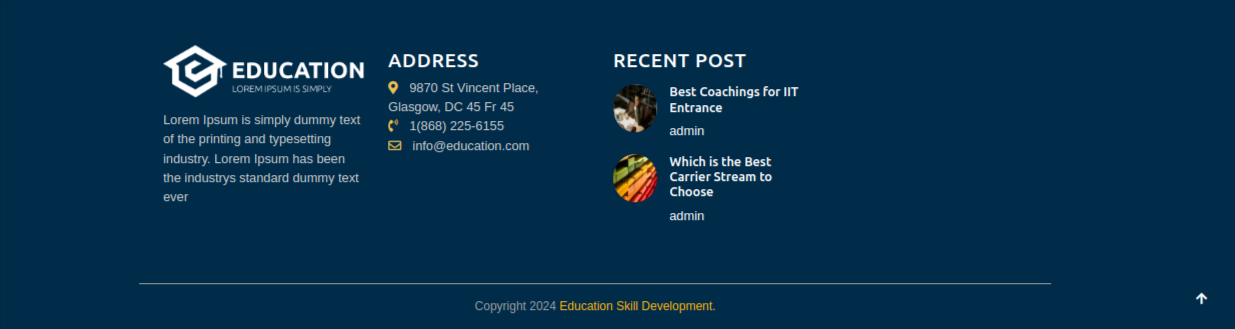
After adding widgets to it, your footer will look like this.
Copyright Text for Footer
Copyright Text
You can fill out the copyright content to footer copyright settings to continue with the footer settings.
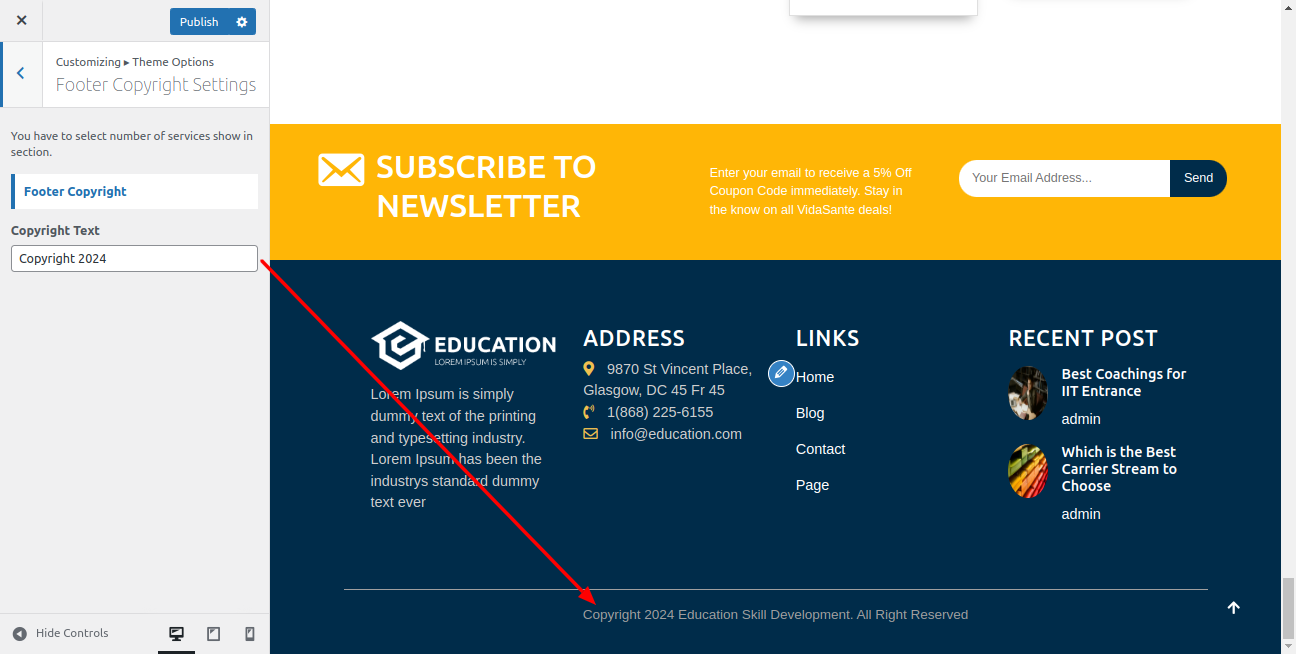
On the front end, the appearance will resemble the following.
Theme Color and Font
Configure Background
Background Settings
To proceed with the Background Settings following the instructions provided below.
In the Dashboard, go to Appearance >> Customize >> Theme Options >> Background Settings >> Testimonial Section
For each part, you can choose a backdrop color or image. For each Background Section, you can select from these possibilities.
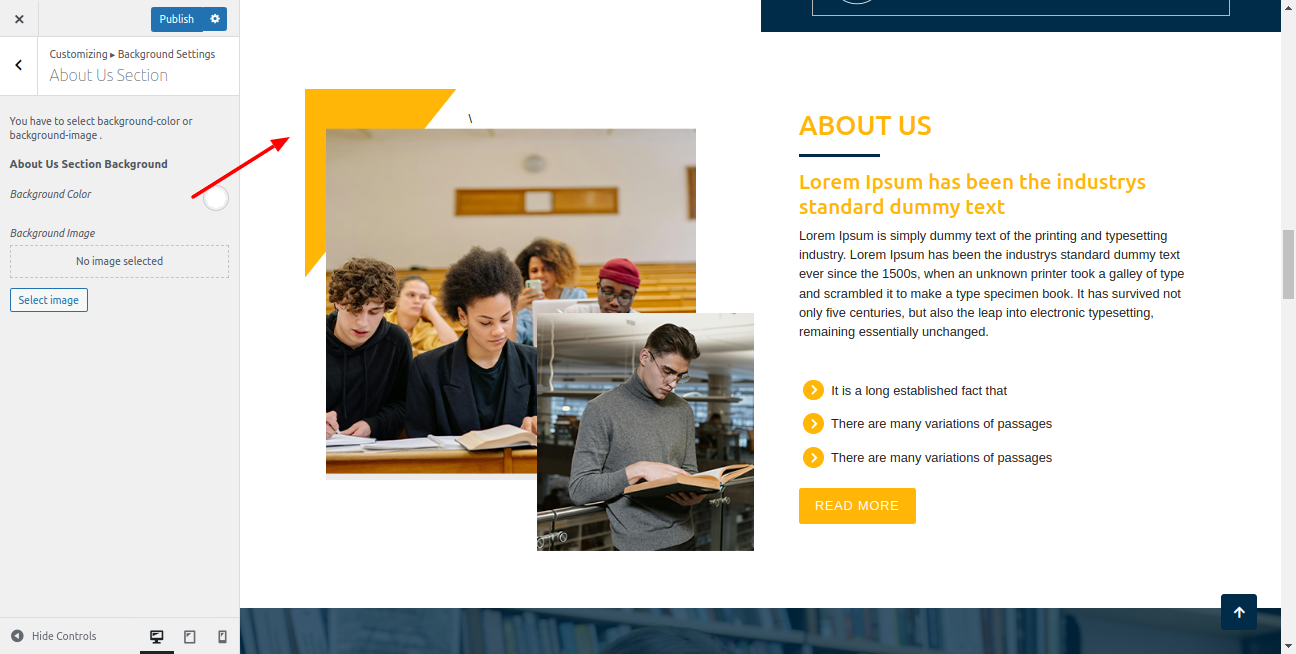
On the front end, the appearance will resemble the following.
Configure Theme Font Style
Typography Options
To proceed with the Typography Options, you can change complete font style just one click. following the instructions provided below.
You can change heading and body font style
In the Dashboard, go to Appearance >> Customize >> Typography Options>>

On the front end, the appearance will resemble the following.
Configure Theme Color
Color Options
With just one click, you can change the entire font color as well as the background and border colors of buttons when using the theme color option.
In the Dashboard, go to Appearance >> Customize >> Theme Color Option
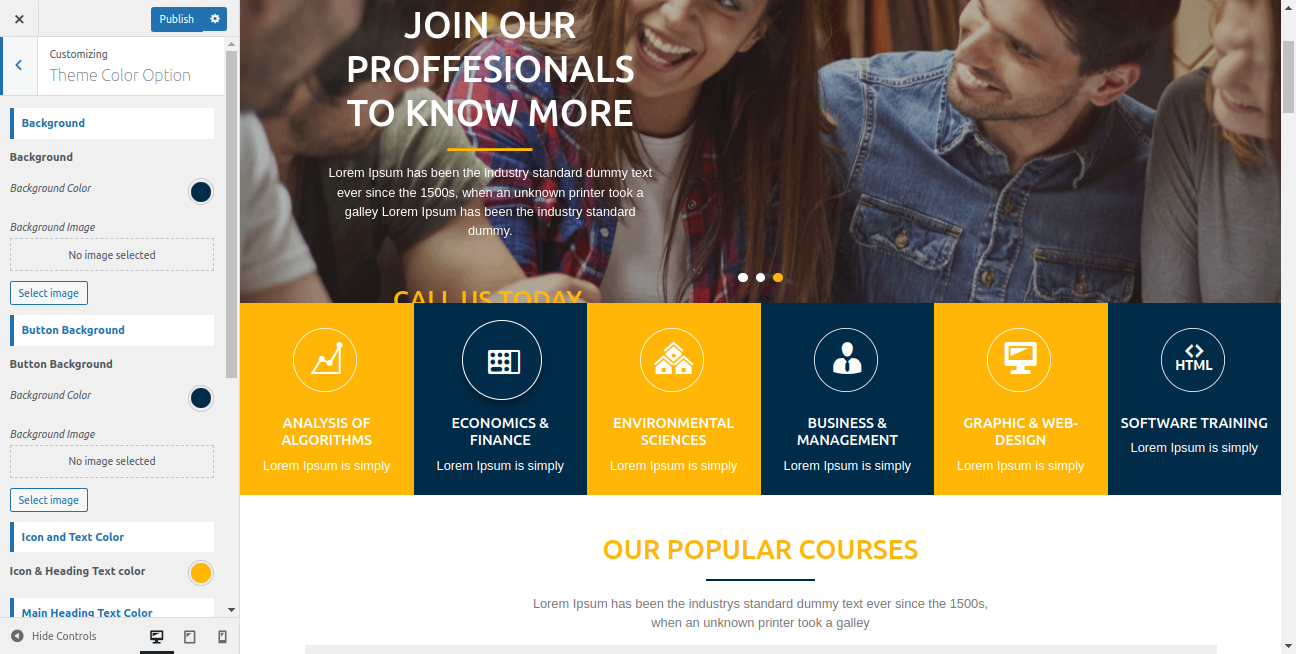
On the front end, the appearance will resemble the following.

Setting Page Templates
Configure Contact Page -
Follow these instructions to Configure contact page.
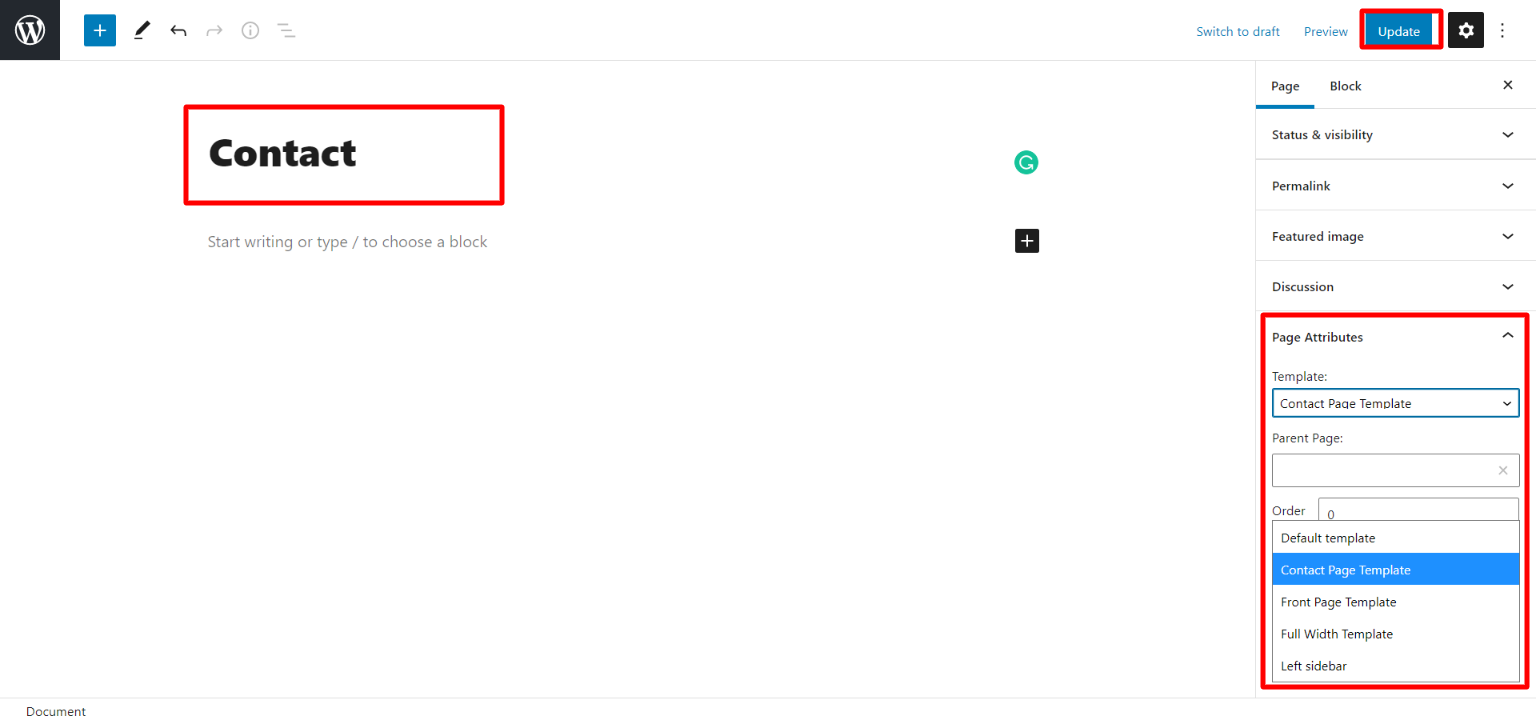
Make a page to set the template: In dashboard, click on Pages >> Add New Page
Give it any name you like, even "Contact." Choose the "contact page template" from the template dropdown after that.
Your page receives a parent page and a template from the Page Attributes section.
Construction of Contact Forms-
The Contact Form 7 plugin is installed in the usual way. Click Plugins > Add New search for Contact Form 7 in the WordPress dashboard's search bar. Choose the plugin from the search result, then click the Install Now button.
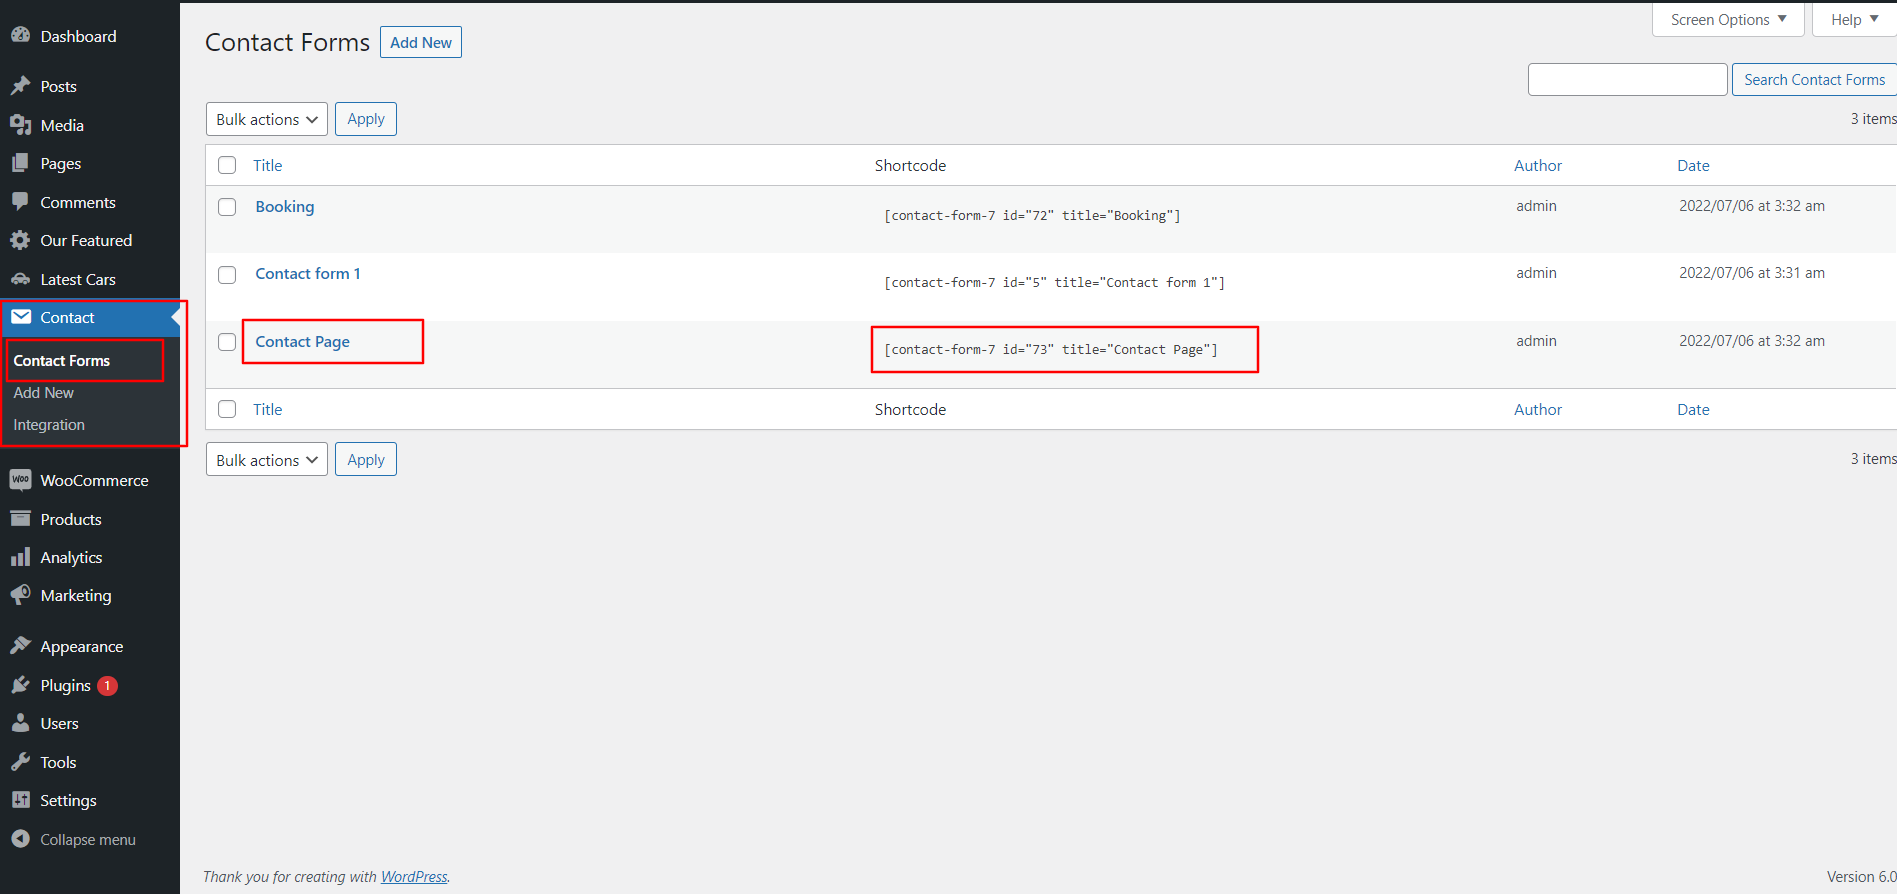
From the admin panel, just go to Contact > Contact Forms to create a Contact Form. There is a list of the forms that are available, though there are none, at now
You may also create your own contact form by clicking on the Contact >> Add New

constructing a new method of contact -
Give this new contact form a name and then scroll to Form. From this page, you can edit the contact form template.
The template specifies the various fields that will appear on your form as well as the labels that will appear next to those elements.
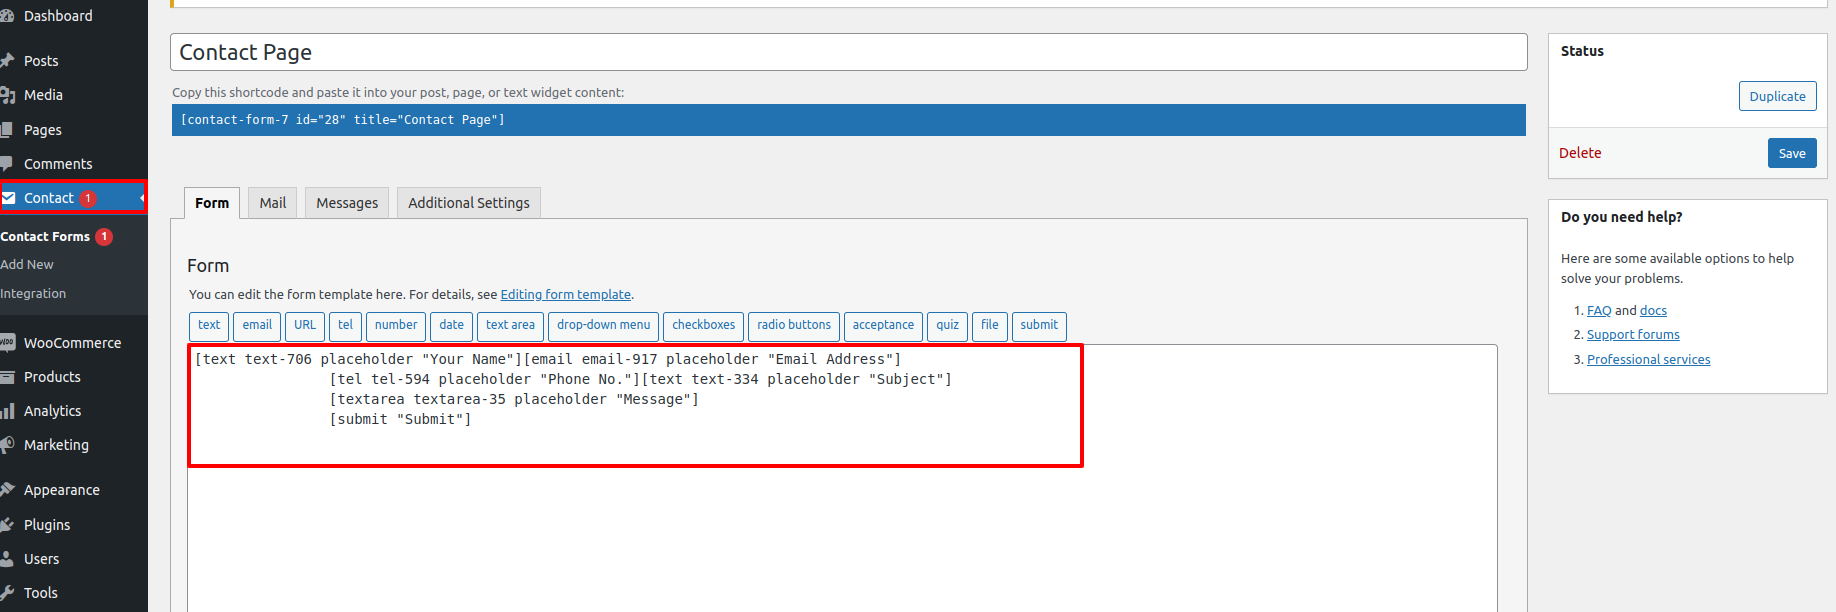
When you are done with changes, click Save.
Copying the Shortcode that appears next to your contact form is an important step. Additionally, this is shown in the form editor.
Contact Page Section
In the Dashboard, go to Appearance >> Customize >> Contact Page Settings >> Contact Page Section
Heading and content can be customized. For each Contact Page Setting, you can select one of these choices.
Place the Contact Form-7 shortcode code in customize option.
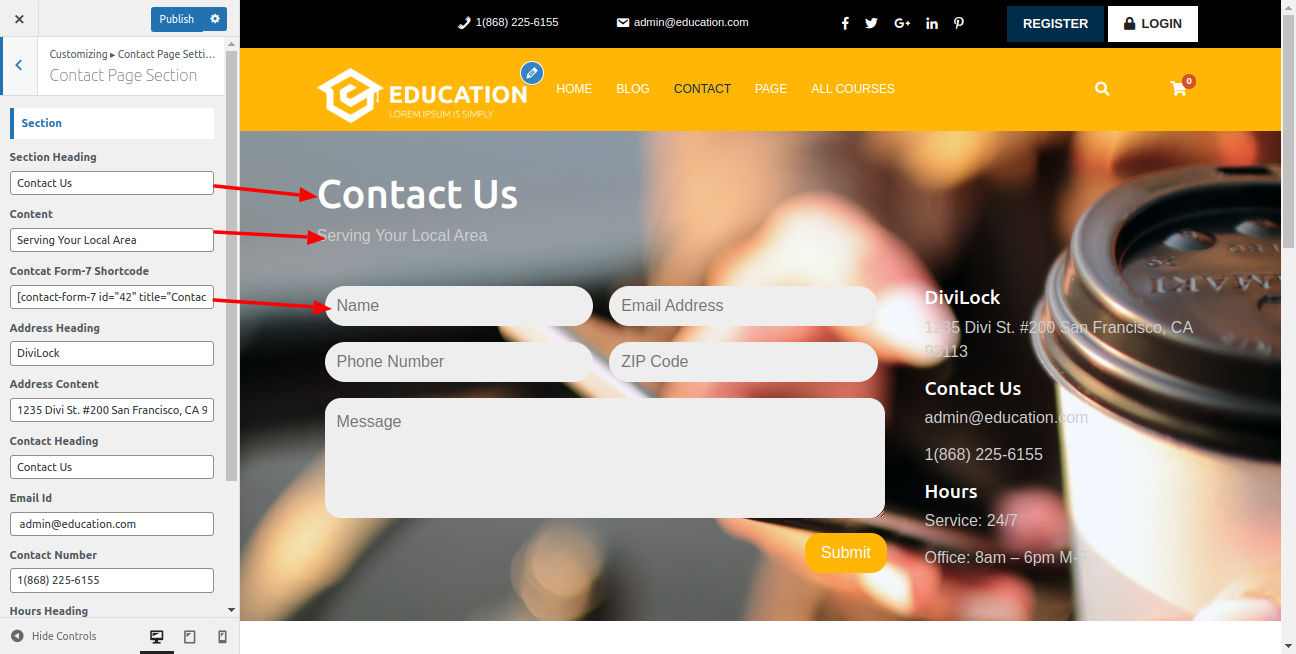
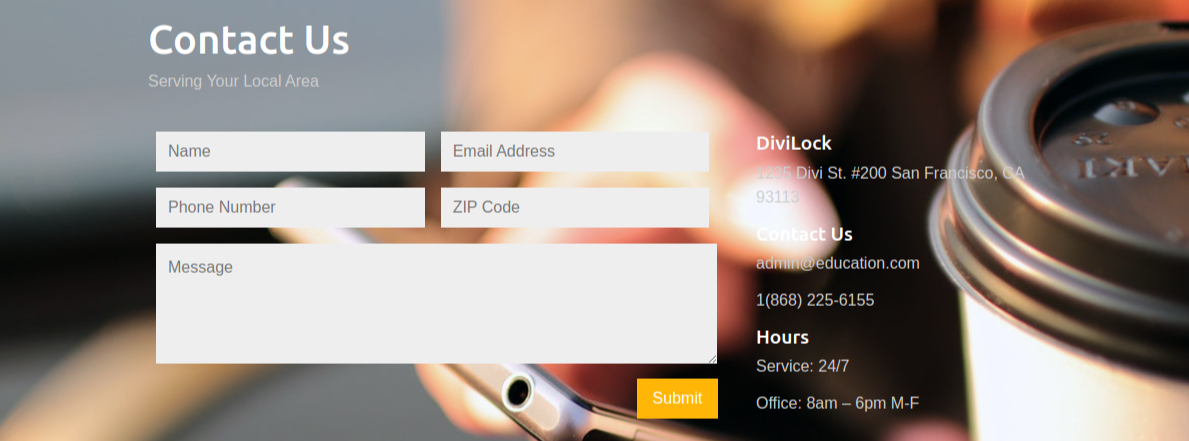
On the front end, the appearance will resemble the following.
Configure Blog Page
Set Up Post Right Sidebar
Follow these instructions to Configure post right sidebar page.
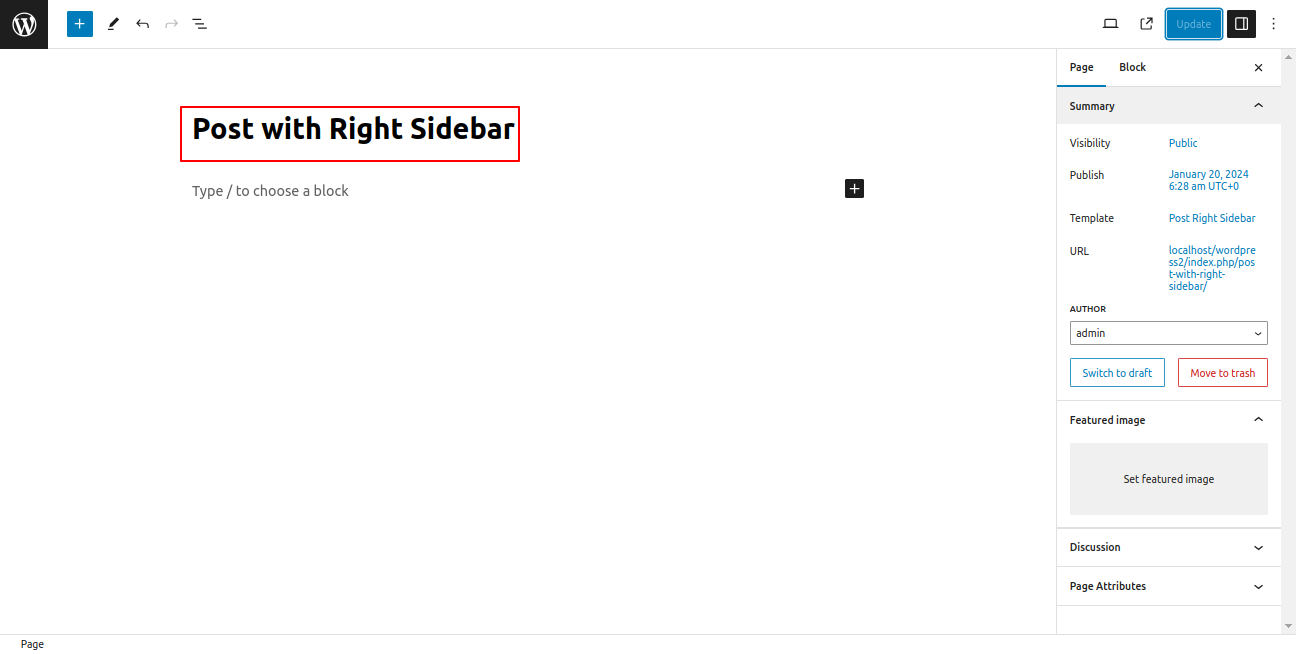
1. Make a page to set the template: Go to Dashboard >> Pages >> Add New Page
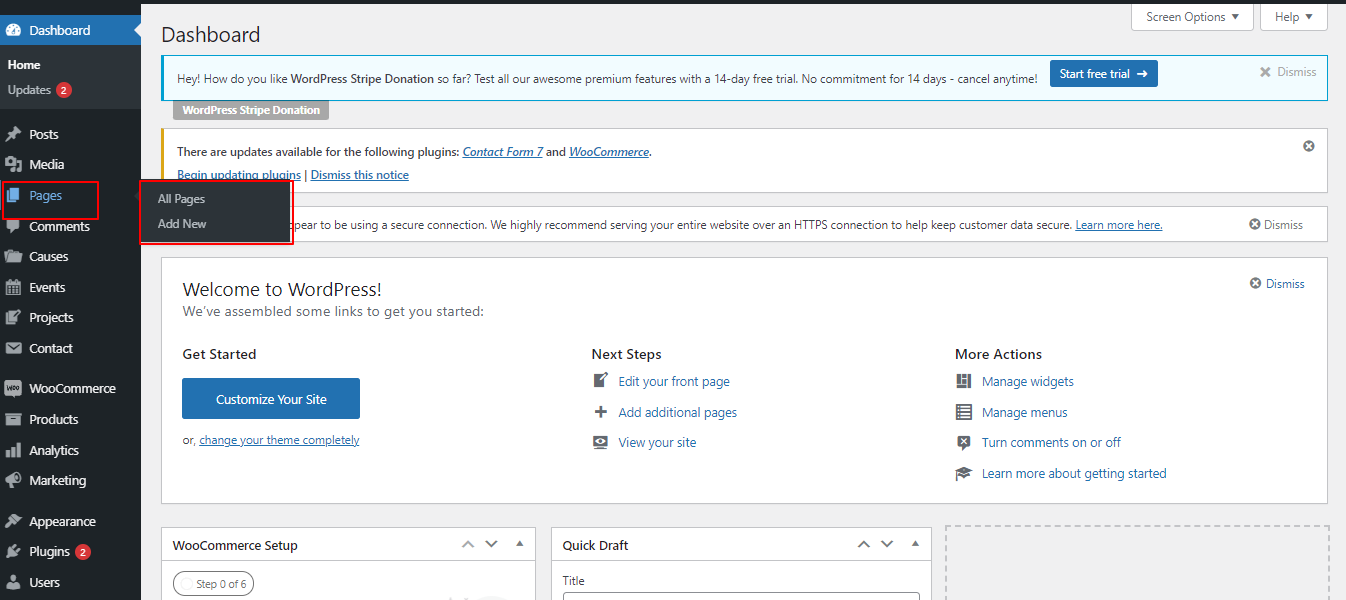
Caption it "Post Right Sidebar" or anything you want to. Then, from the template dropdown, chose "Post Right Sidebar.
This page template's parameters (such as section content, graphics, and the number of posts they display) are configurable.
A parent page and a template are provided for your page in the Page Attributes section.
1. Make a page to set the template: In dashboard, click on Pages >> Add New Page

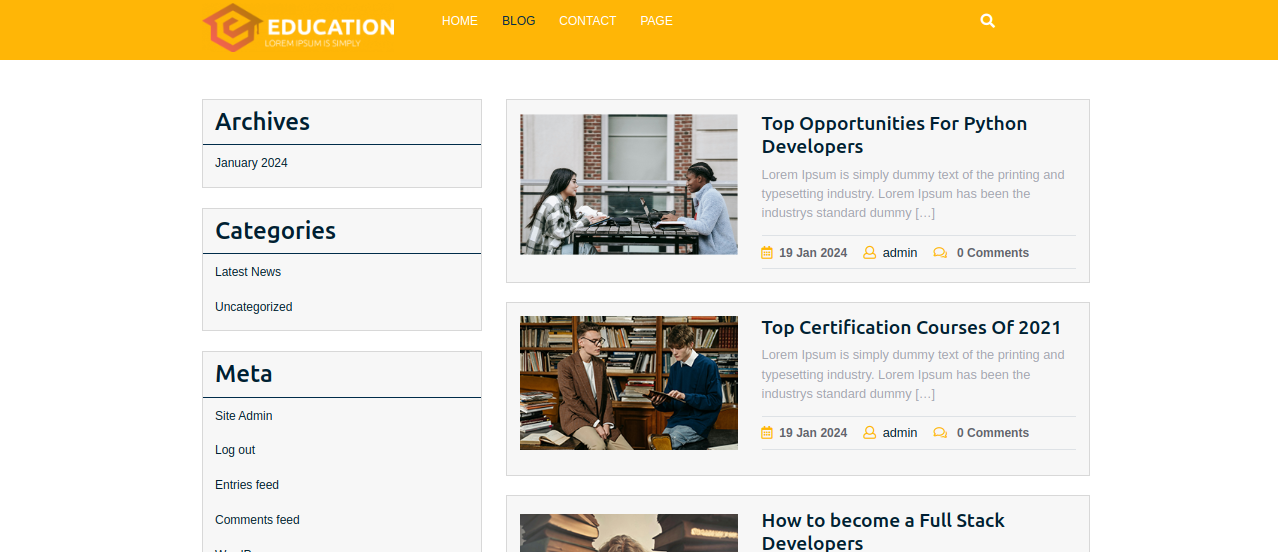
On the front end, the appearance will resemble the following.
Set Up Post Left Sidebar
Configure post left sidebar page by following these instructions.
1. Make a page to set the template: In the Dashboard, go to Pages >> Add New Page
You can call it whatever you like, like "Post Left Sidebar". Next, choose "Post Left Sidebar" from the list of available templates.
This page template's parameters (such as section content, graphics, and the number of posts they display) are configurable.
Your page receives a parent page and a template from the Page Attributes section.
1. Make a page to set the template: In dashboard, click on Pages >> Add New Page
On the front end, the appearance will resemble the following.

Configure Page Template
Set Up Page Right Sidebar
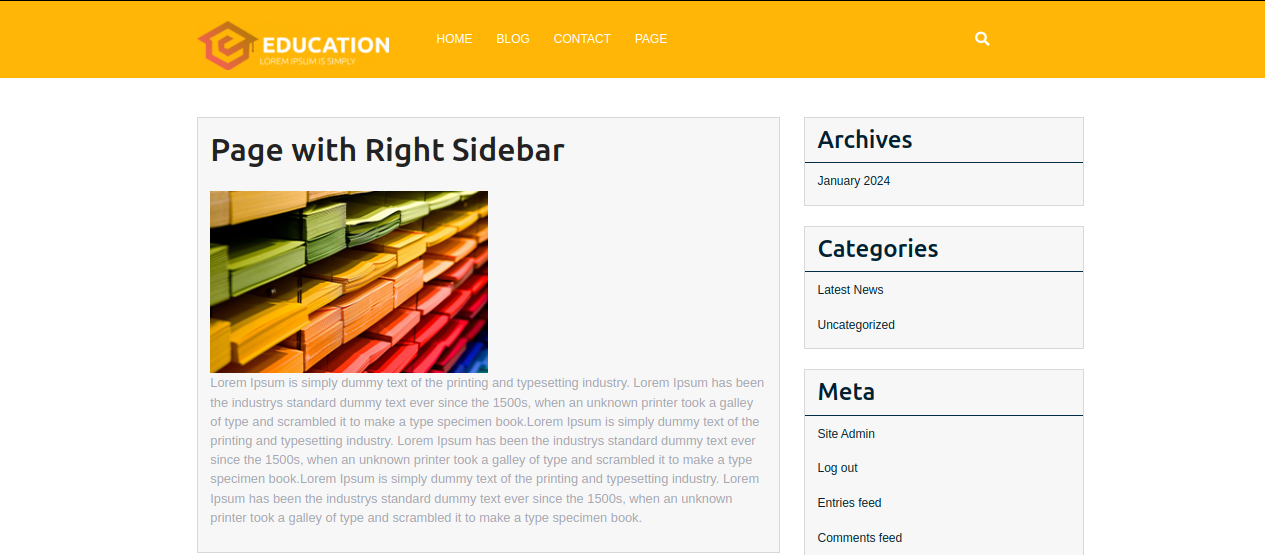
Follow these instructions to Configure page right sidebar page.
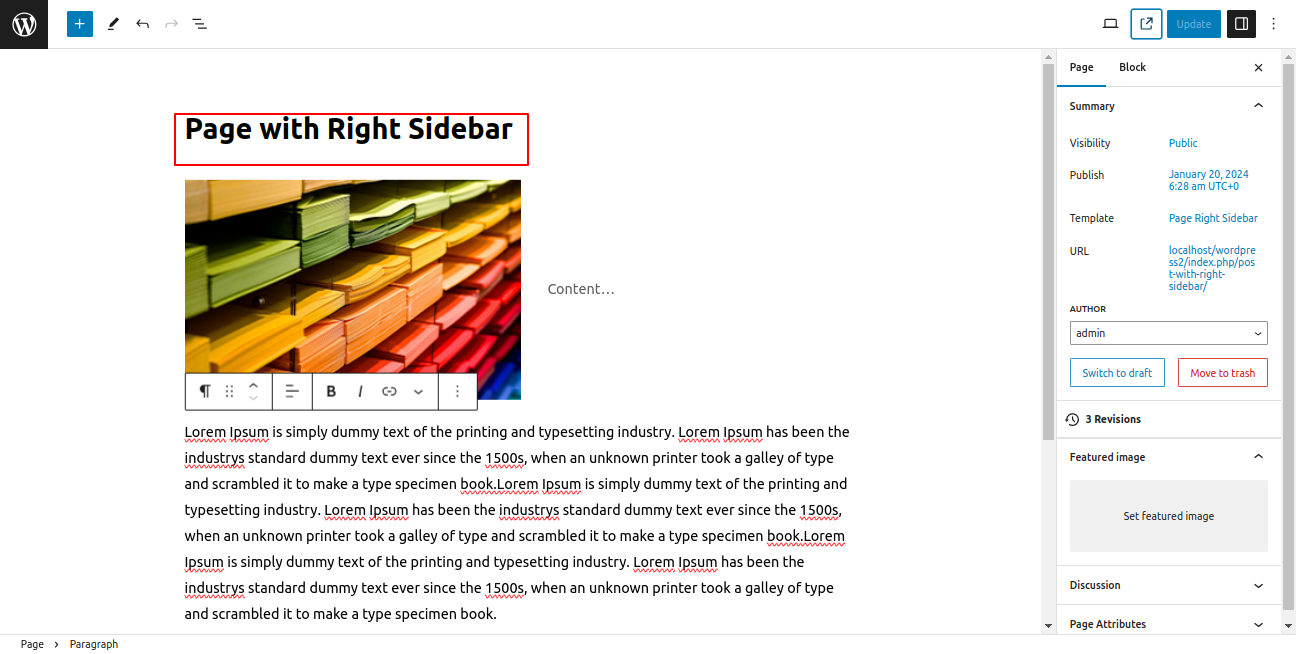
1. Make a page to set the template: In the Dashboard, go to Pages >> Add New Page
Label it anyway you desire, such as "Page Right Sidebar." Then, choose "Page Right Sidebar" from the list of available templates.
This page template's parameters (such as section content, graphics, and the number of posts they display) are configurable.
A parent page and a template are provided for your page in the Page Attributes section.
1. Make a page to set the template:In dashboard, click on Pages >> Add New Page
On the front end, the appearance will resemble the following.
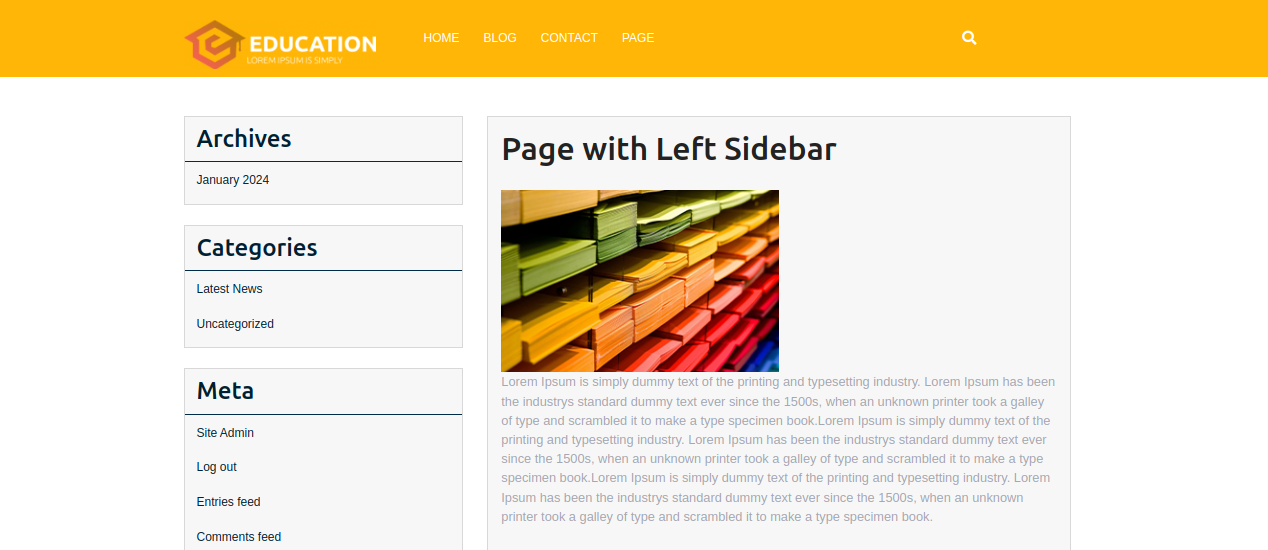
Set Up Page Left Sidebar
Follow these instructions to Configure page left sidebar page.
1. Make a page to set the template: In the Dashboard, go to Pages >> Add New Page
You can give it whatever name you like, such as "Page Left Sidebar". Then, choose "Page Left Sidebar" from the list of template options.
This page template's parameters (such as section content, graphics, and the number of posts they display) are configurable.
Your page receives a parent page and a template from the Page Attributes section.
1. Make a page to set the template: In dashboard, click on Pages >> Add New Page
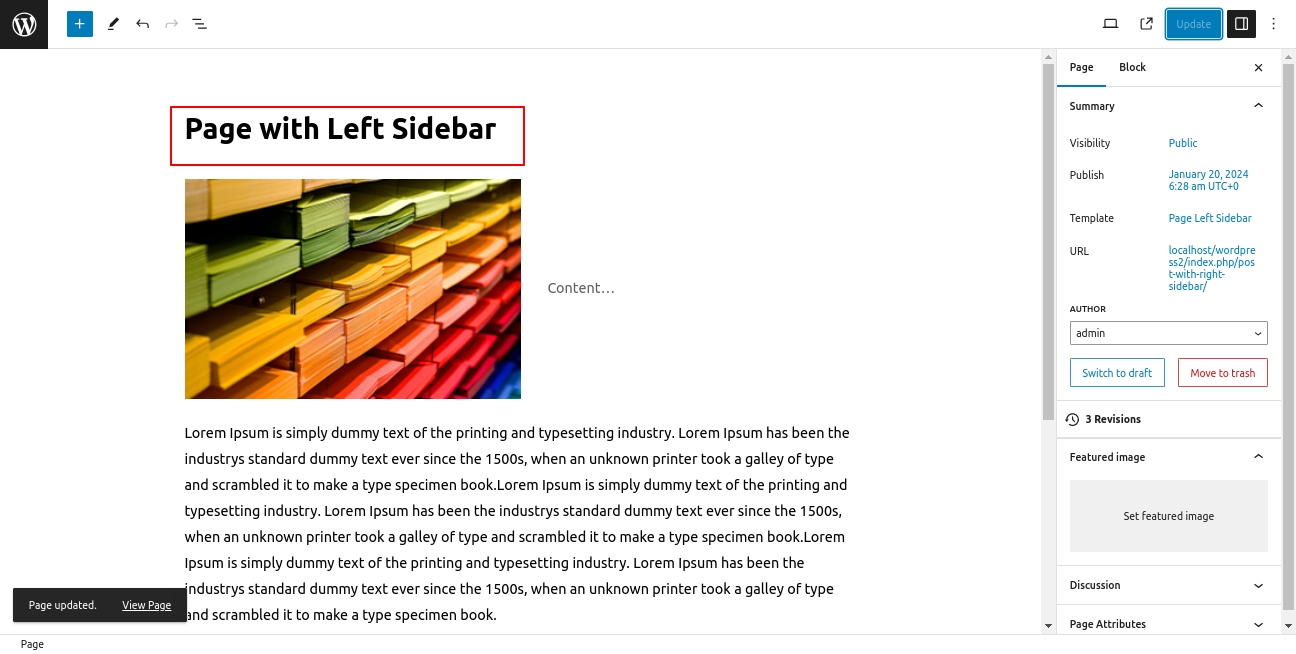
On the front end, the appearance will resemble the following.
Settings for Theme Posts & Pages
Post Content Settings
Post Content Settings
To proceed with the you can set post content lenght, following the instructions provided below.
In the Dashboard, go to Appearance >> Customize >> Theme Options >> Post Settings
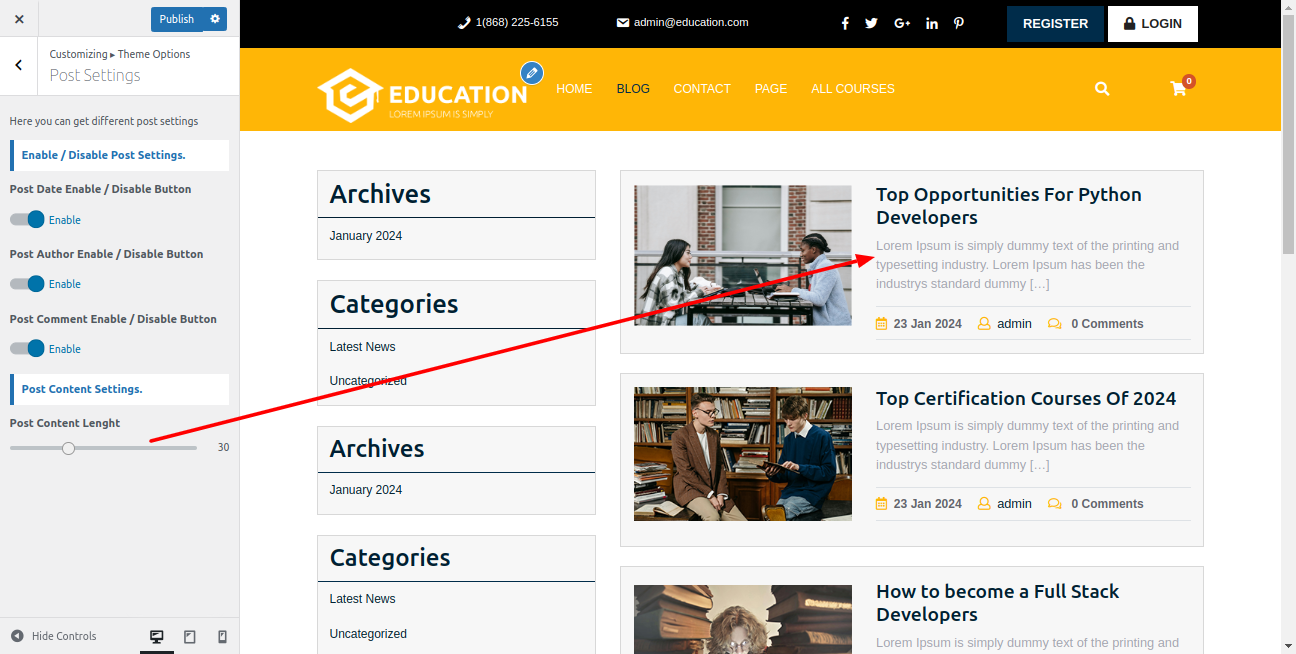
On the front end, the appearance will resemble the following.

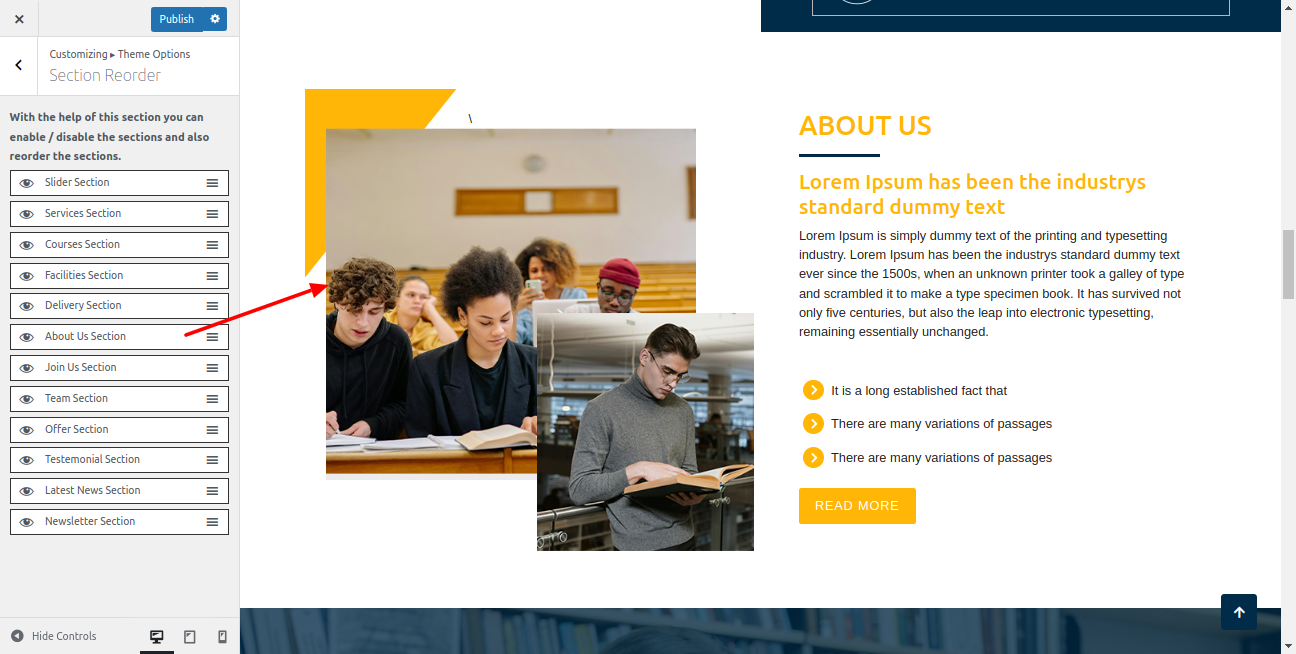
Reorder Settings for Sections
Reorder Settings in Section
You can edit or rearrange the section before continuing. following the guidelines listed below.
You can choose to make the area invisible. For each section's reordering settings, you can select one of these choices.
In the Dashboard, go to Appearance >> Customize >>Theme Options >> Header Settings >> Section Reorder Settings
On the front end, the appearance will resemble the following.
